At first
This time, using OCI(Oracle Cloud Infrastructure), which has abundant usage slots for cloud services that you can try for free, Build the environment on the cloud with script + Terraform.
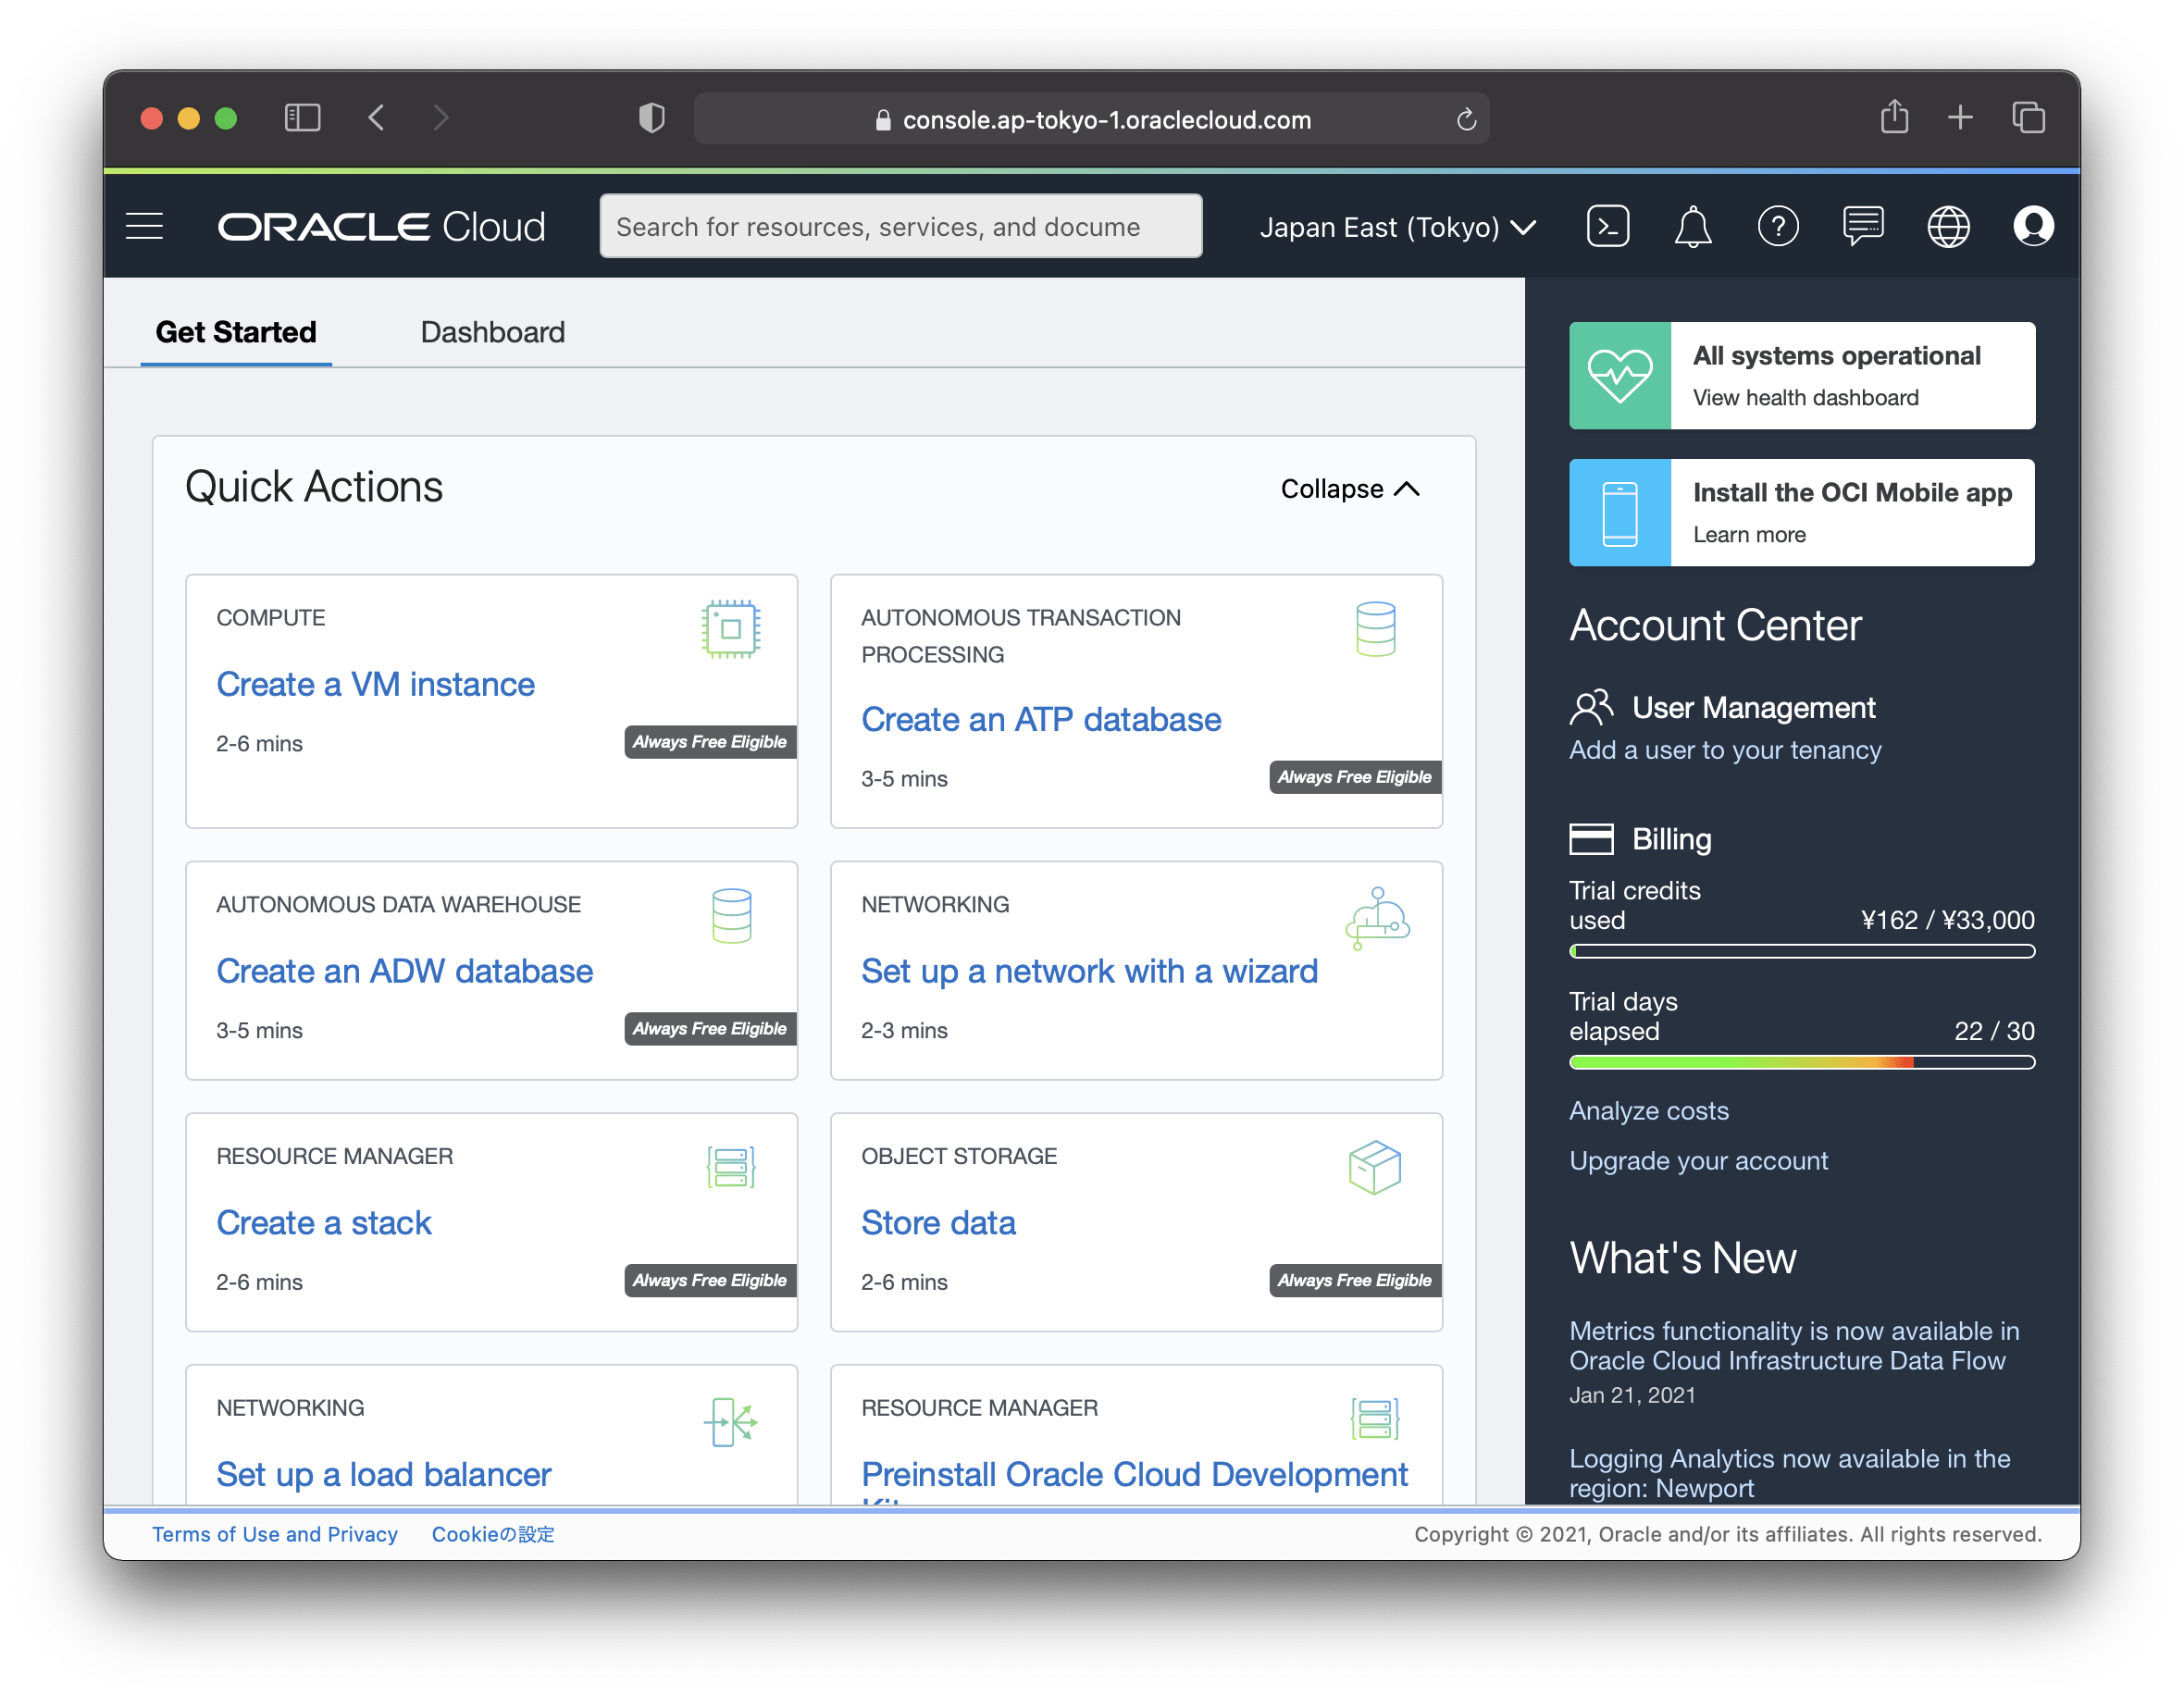
To build an environment in OCI, you must first create an account by clicking “Start for Free” in Oracle Cloud Free Tier. You’ll need to enter your credit card to verify your identity, but you won’t be charged unless you upgrade to a paid account. Check here for more information.
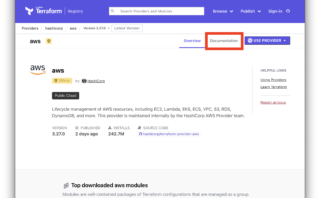
If you want to know the basic usage of Terraform and how to write code, please refer to the following.
Execution environment
The script is written in zsh with the extension comannd.
This is because the extension command allows you to double-click on a script file on macOS. If you can’t run a script file by double-clicking it on macOS, see here.
For operating systems that can run zsh, such as Linux, change the extension to sh and run it.
Teraform is used to create virtual networks and computers on the cloud.
Terraform is the de facto standard for IaC(Infrastructure as Code) tools for managing infrastructure in code, building environments on the cloud by loading files with the extension tf.
What to build
The environment being built uses two Computes, two Autonomous Databases, one load balancer, and one reserved public IP from OCI’s Always Free resources.
If you are already using the above resources in Always Free, please delete and run the resource or change the extension tf file to adjust the number of resources as it will fail to build the environment caught in the Always Free restrictions.
The two Computes install nginx and SQL Plus.
nginx is built to be accessible from the Internet via a load balancer.
SQL Plus is used to connect compute with ssh and access The Autonomous Database.
Prepare to build
1. Download scripts
If you downloaded cl-configure locally from git or here and it is compressed, unzip it.
Unziping creates a cl-configure directory.
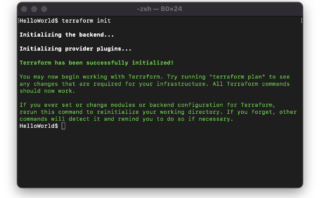
2. Install Terraform
If Terraform is not installed, run the following script to install Terraform.
cl-configure/install-terraform.command3. Creation of private and public keys
Run the following script to create a private and public key for use connecting OCI and Compute.
You will be asked to enter the listing name to use in HTTPS while the script is running. If you do not enter anything and proceed with Enter, it will not be created, so please enter JP etc. in The Country Name.
cl-configure/generate-keys.command4. Settings for connecting to OCI
To build an environment in OCI using Terraform, you need to set an API key to connect to the OCI.
To register the API key with OCI, sign in to the OCI console, click the “Profile Icon” in the upper right corner of the screen, and click “User Settings” in the open.

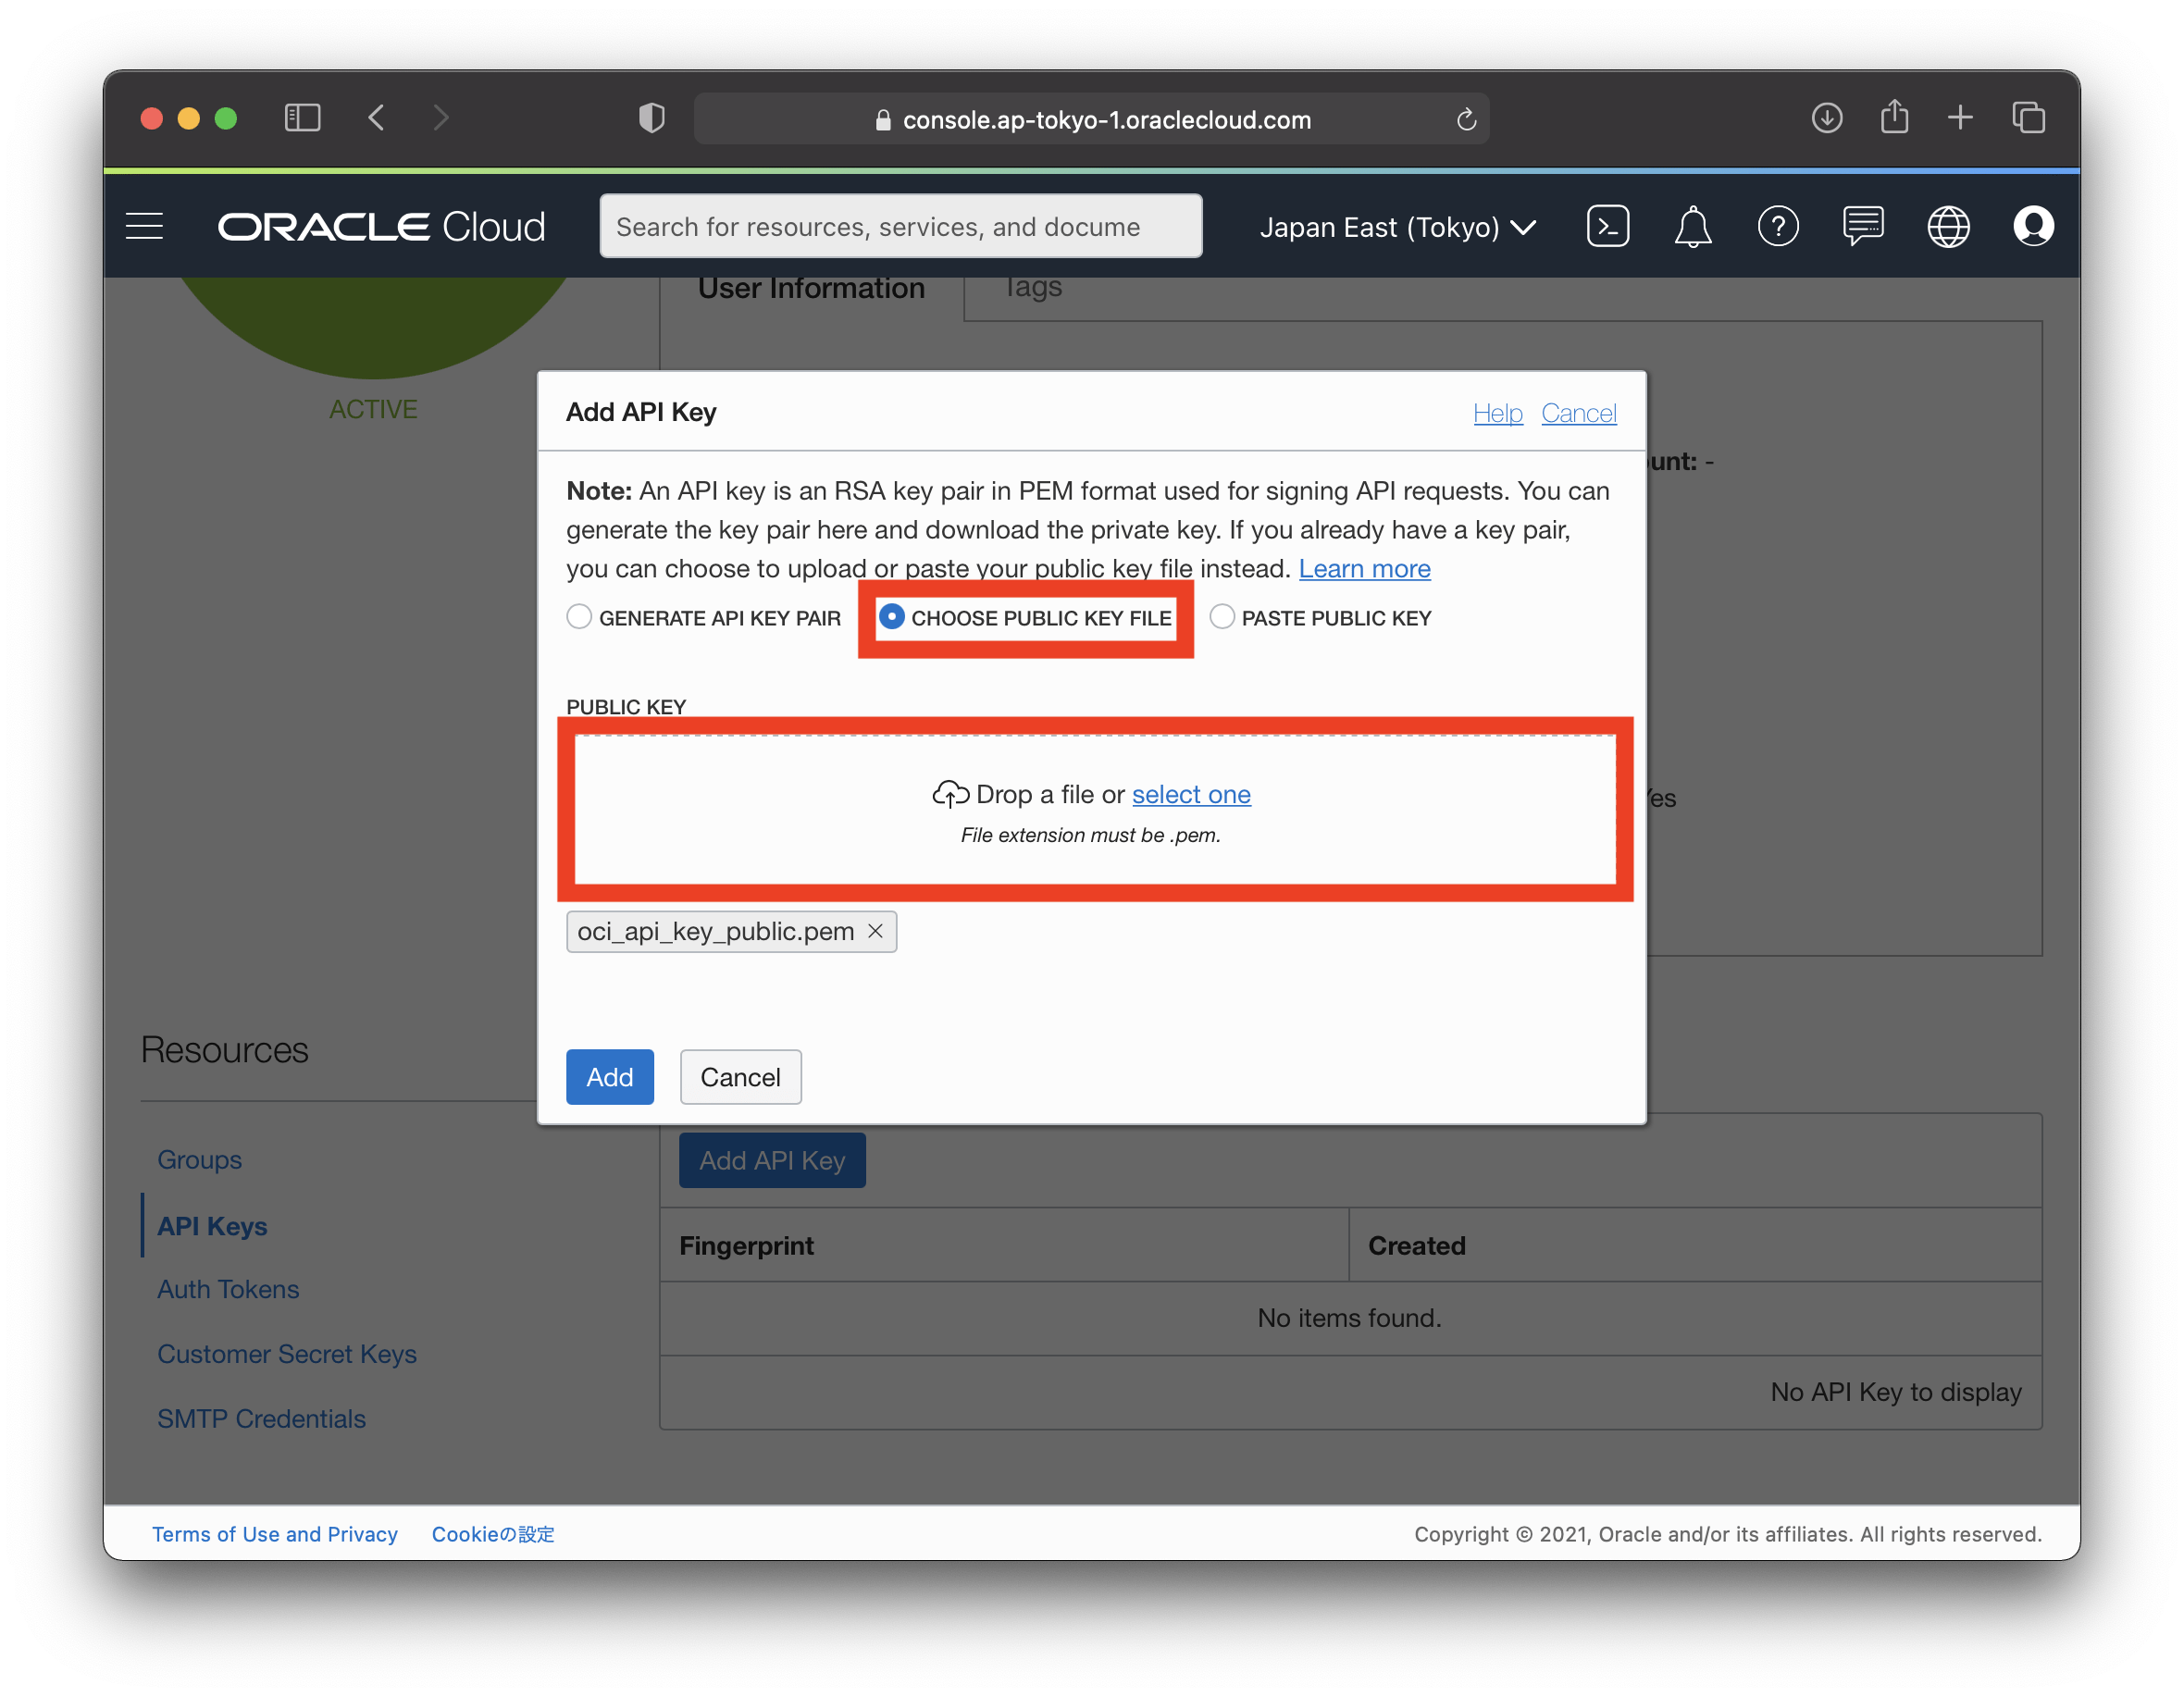
Click “API Key” on the custom screen and click the “Add API Key” button.
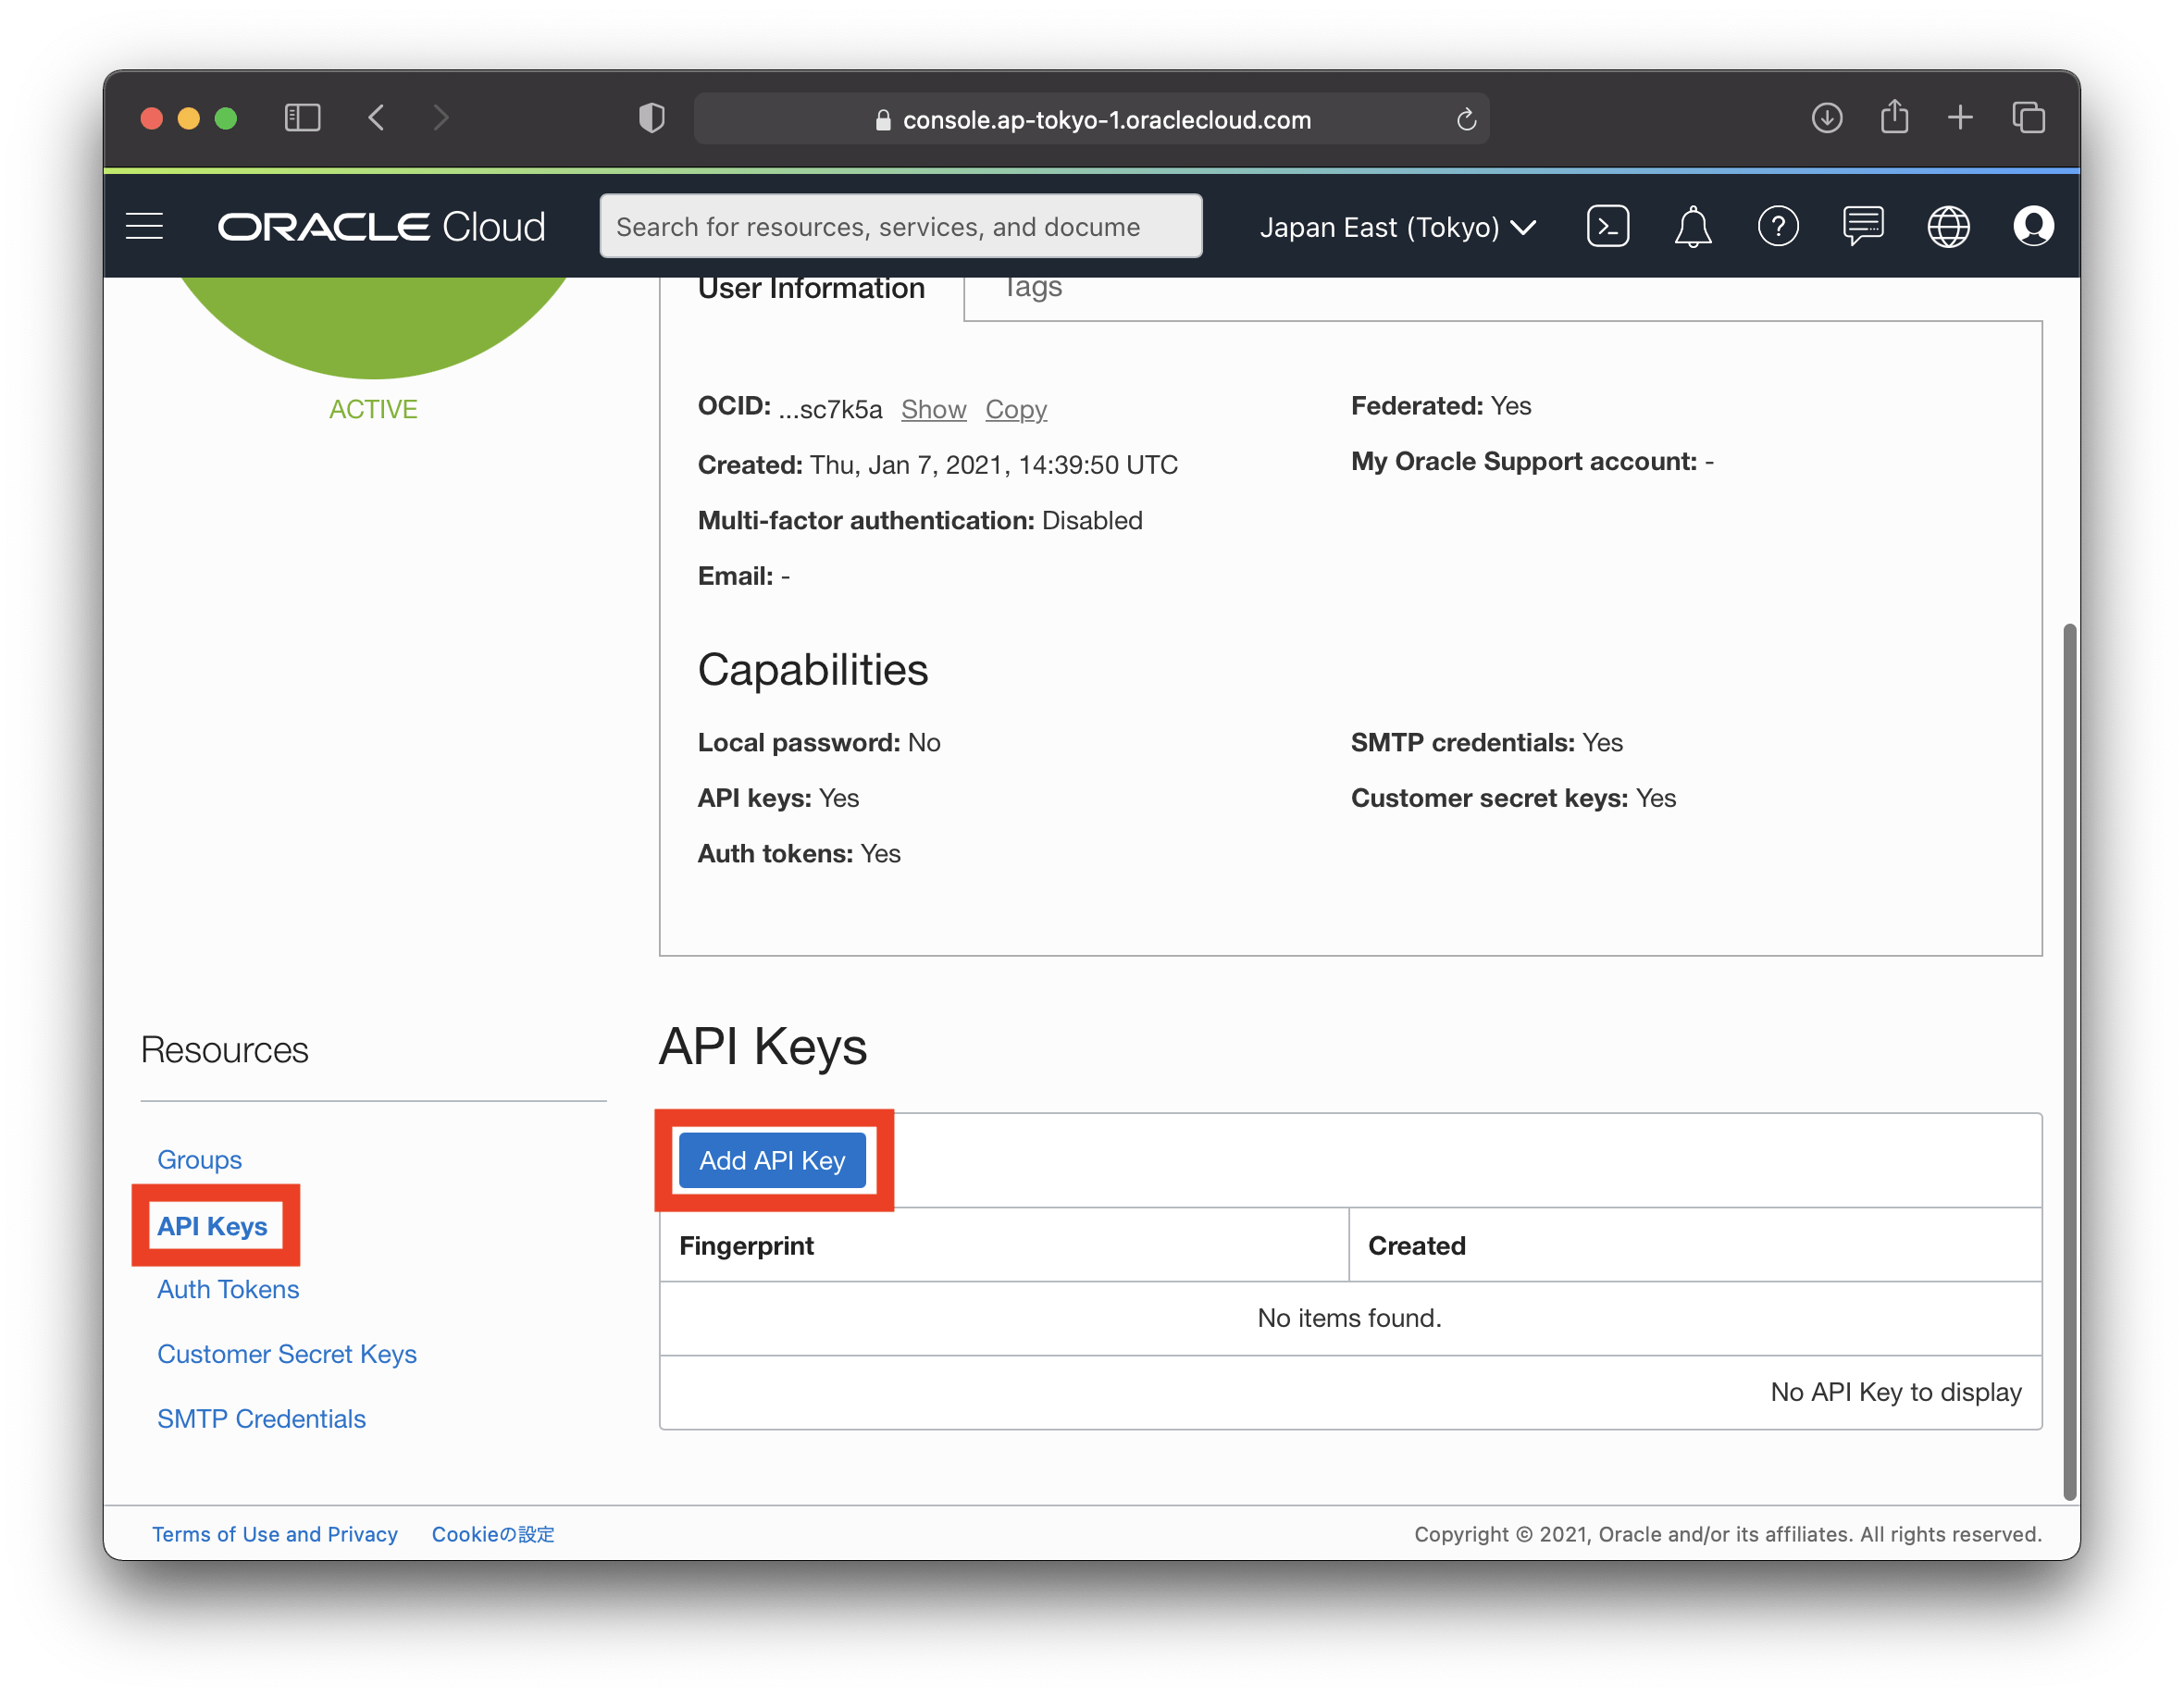
When the API key addition screen is displayed, select “CHOOSE PUBLIC KEY FILE”, and for “PUBLIC KEY”, select “cl-configure/keys/oci_api_key_public.pem” created in the previous work(Creation of private and public keys). Click “Add” while the screen below is displayed.
Open the “cl-configure/oci/envs/dev/terraform.tfvars” file in a text editor, copy the string after = of the string displayed in “CONFIGURATION FILE PREVIEW”, paste it according to the corresponding table below, and save it.
| Preview configuration files | terraform.tfvarsX |
|---|---|
| tenancy | tenancy_ocid |
| user | user_ocid |
| fingerprint | fingerprint |
| region | region |
Build your environment
You can create an environment on OCI by running the following script.
cl-configure/oci/envs/dev/oci-apply.commandWhen you run the script, the following message is displayed, and if you enter “yes” according to the message, the construction of the environment will start on OCI and the process will be completed in about a few minutes.
Do you want to perform these actions?
  Terraform will perform the actions described above.
  Only 'yes' will be accepted to approve.

  Enter a value:
In the process so far, Compute, Autonomous Database, etc. have been created on OCI.
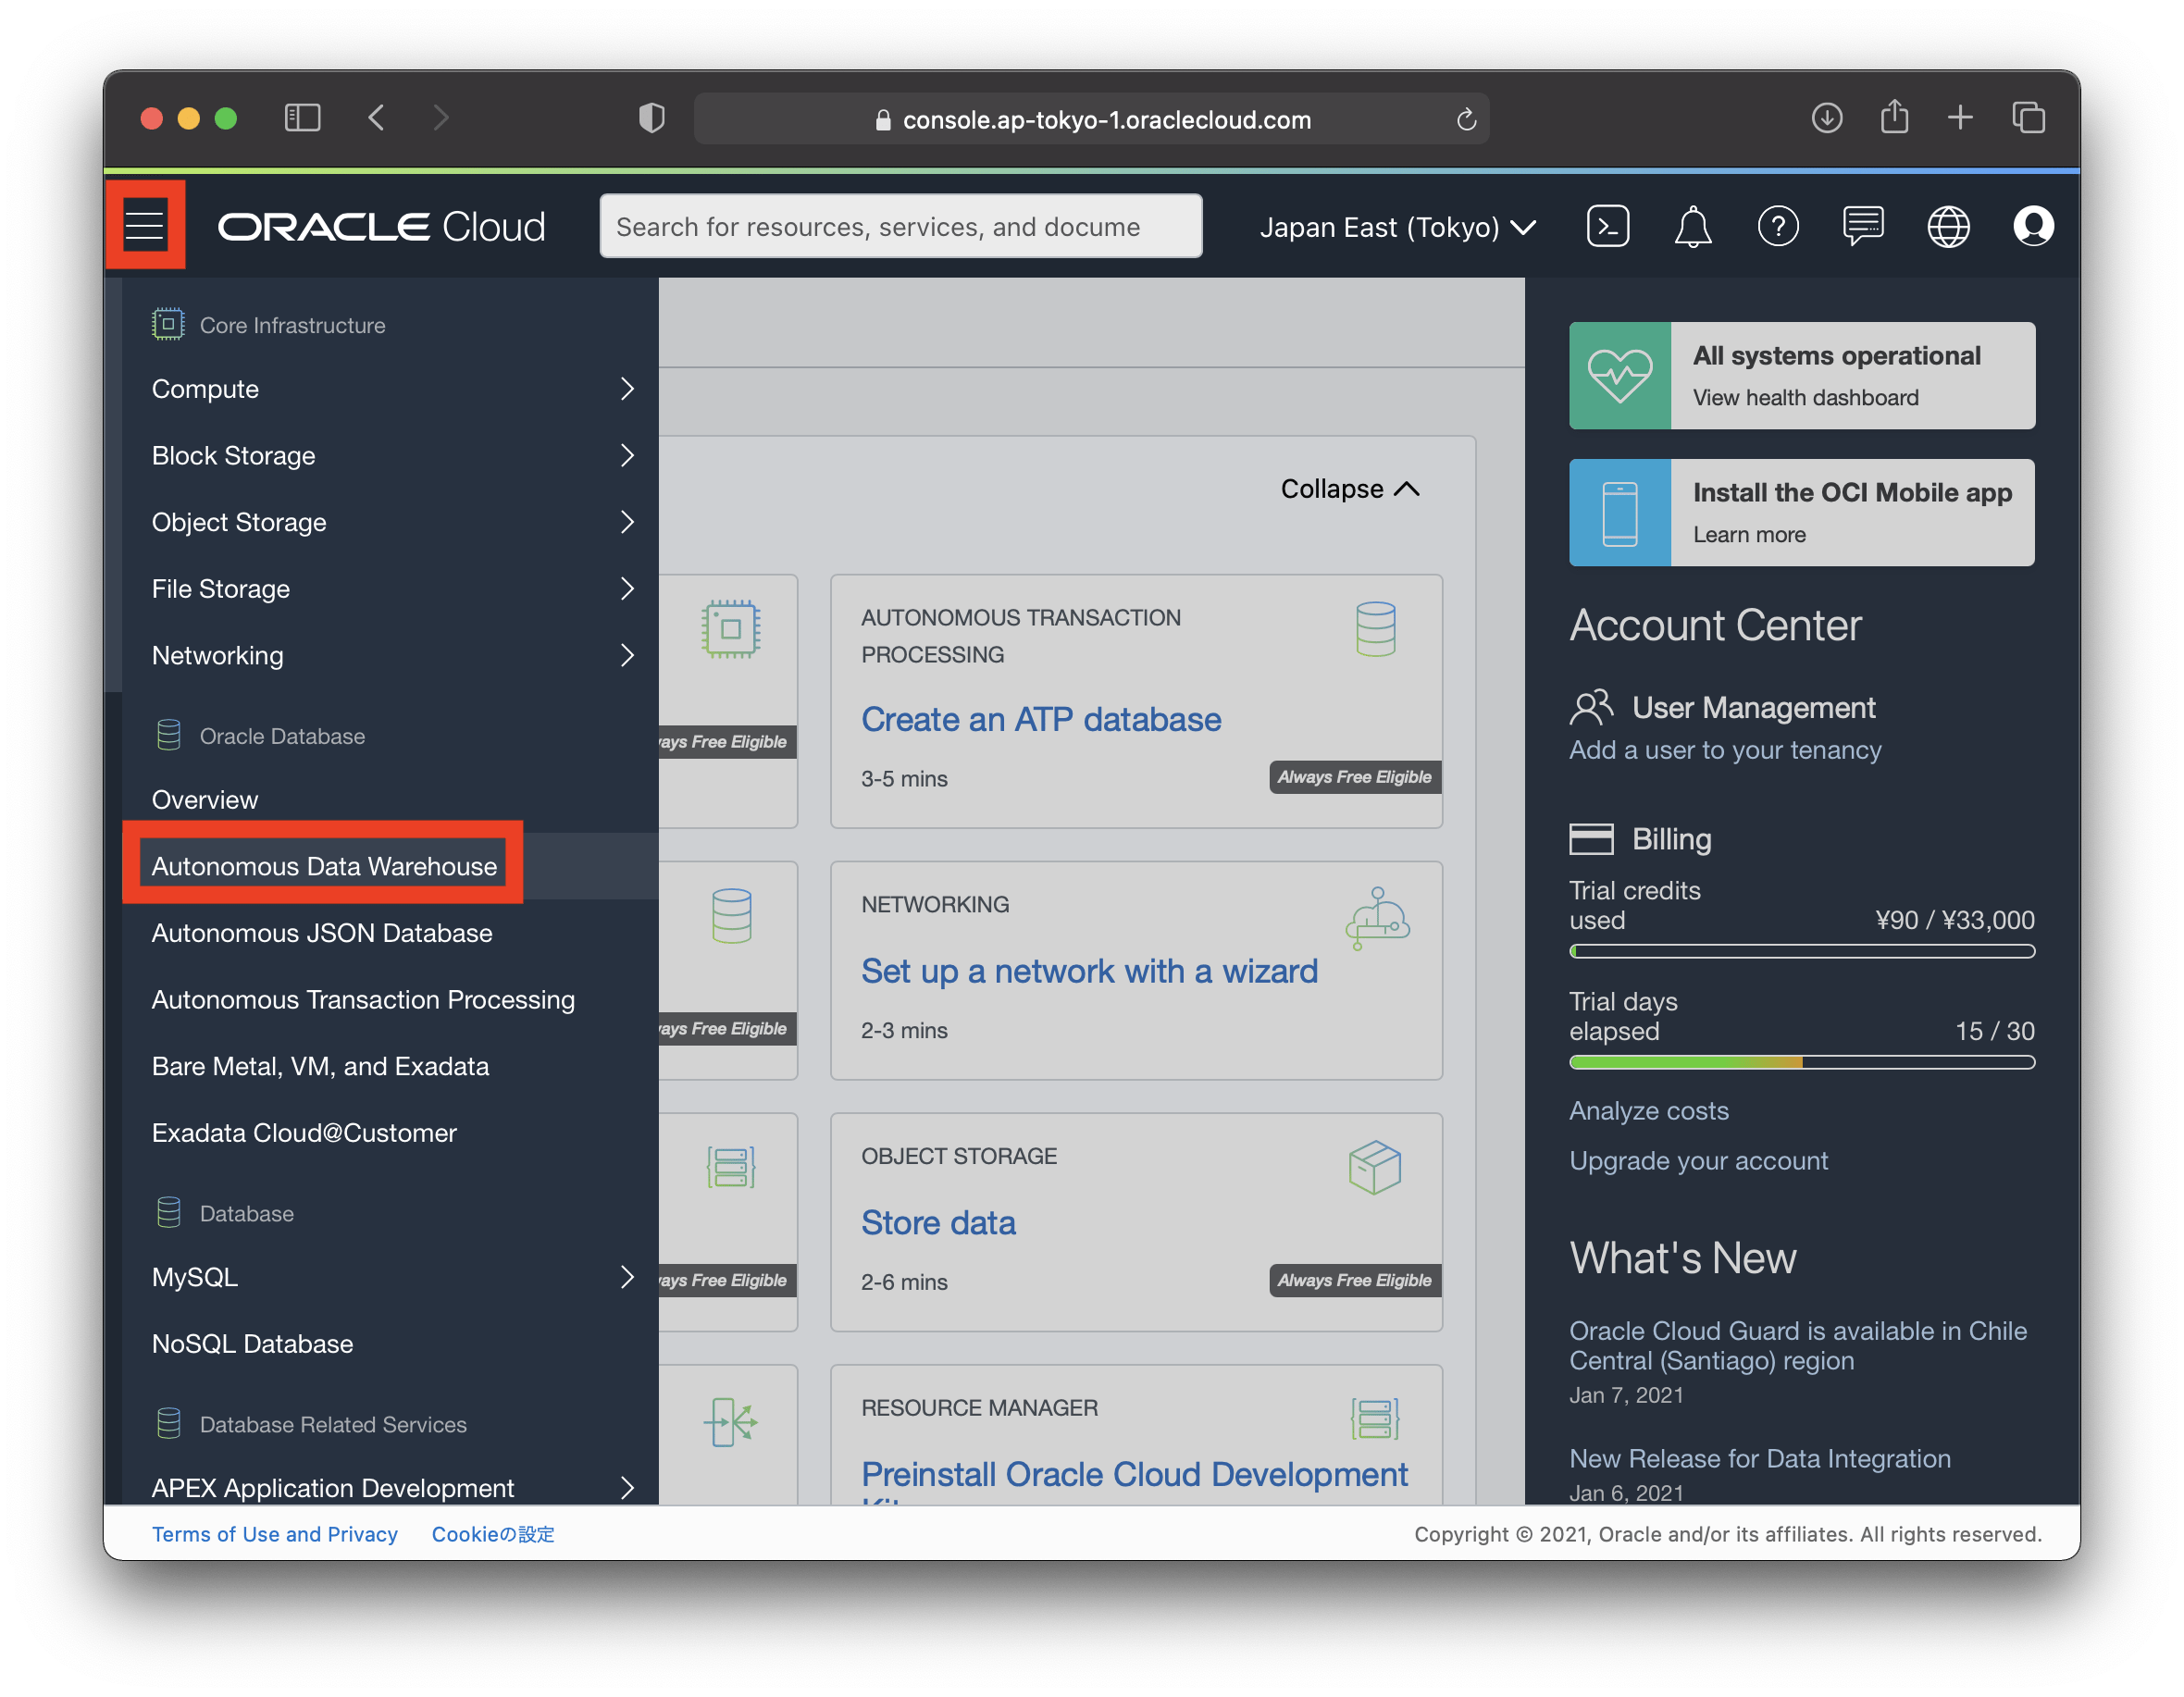
Sign in to the OCI console to get information to connect to Autonomous Database, open the Menu in the upper left, and click Autonomous Database Warehouse.
Click “Autonomous Database” on the left side to display a list of the created Autonomous Database, and click the link “dev-adb-1” on the first line.

Click “DB Connection”.

Make “Wallet Type” a Regional Wallet and click “Download Wallet”.
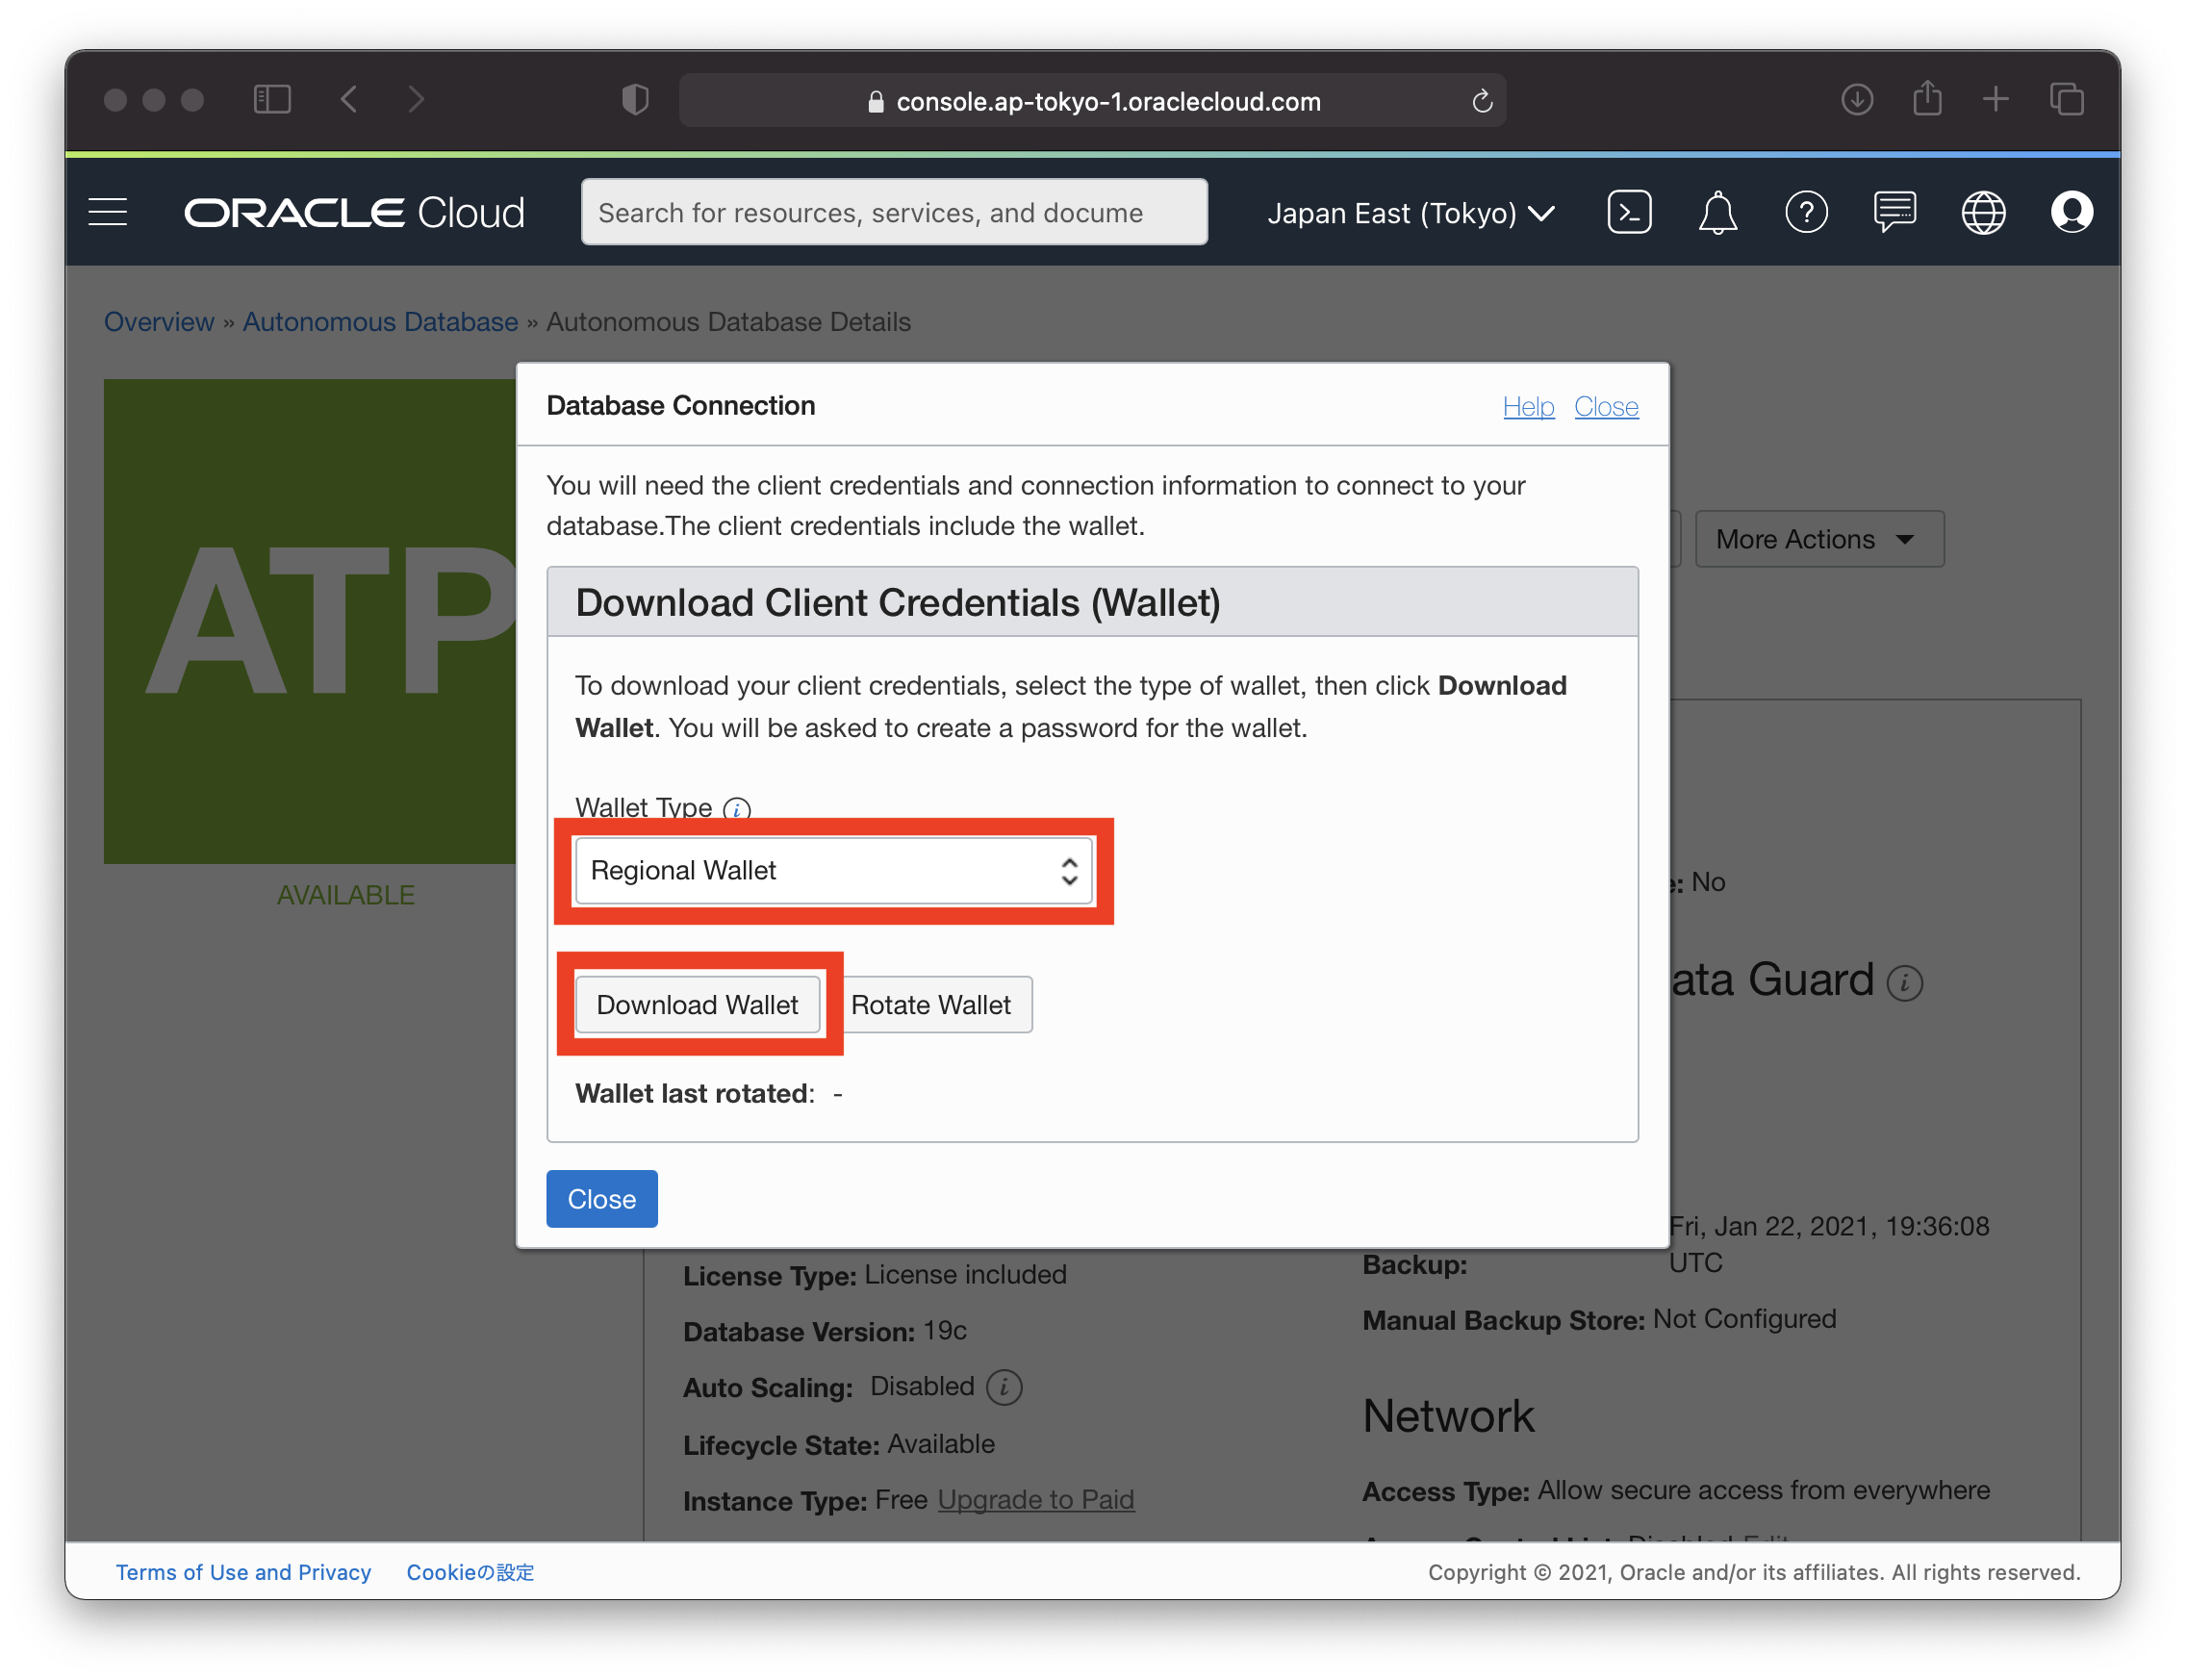
Set your wallet password and click “Download”. Save the downloaded file in the “cl-configure/keys” directory with the file name “Wallet_devadb.zip”.

Run the script to install nginx and SQL Plus on the two computes created in OCI.
In this script, I uploaded the wallet I downloaded earlier to Compute and configured it so that I can connect to Autonomous Database from SQL Plus.
cl-configure/oci/envs/dev/oci-setup.commandWhen you run the script, the following message that appears when connecting to ssh for the first time is displayed twice, so if you enter “yes”, the update will start and the process will be completed in about a few minutes.
Are you sure you want to continue connecting (yes/no/[fingerprint])?Check operation
Connect to Compute
You can make a ssh connection to the first Compute by running the following script.
cl-configure/oci/envs/dev/oci-ssh-1.commandYou can make a ssh connection to the second Compute by running the following script.
cl-configure/oci/envs/dev/oci-ssh-2.commandConnect to Autonomous Database
After connecting to either Compute with the script for connecting to Compute above, use SQL Plus to connect to the Autonomous Database.
The password required when executing the following command is “C0llbow_Pass”.
If you want to connect to the first Autonomous Database, run the command below.
sqlplus admin@devadb1_mediumIf you want to connect to the second Autonomous Database, run the command below.
sqlplus admin@devadb2_mediumConnect to a web server via a load balancer
To connect to a web server from the Internet, you will be connecting via a load balancer, so run the following script to verify the public IP address of the load balancer.
cl-configure/oci/envs/dev/oci-output.commandAfter running the script, the lb_public_ip = "xxx.xxx.xxx.xxx" in the console, “xxx.xxx.xxx.xxx” is the public IP address of the load balancer.
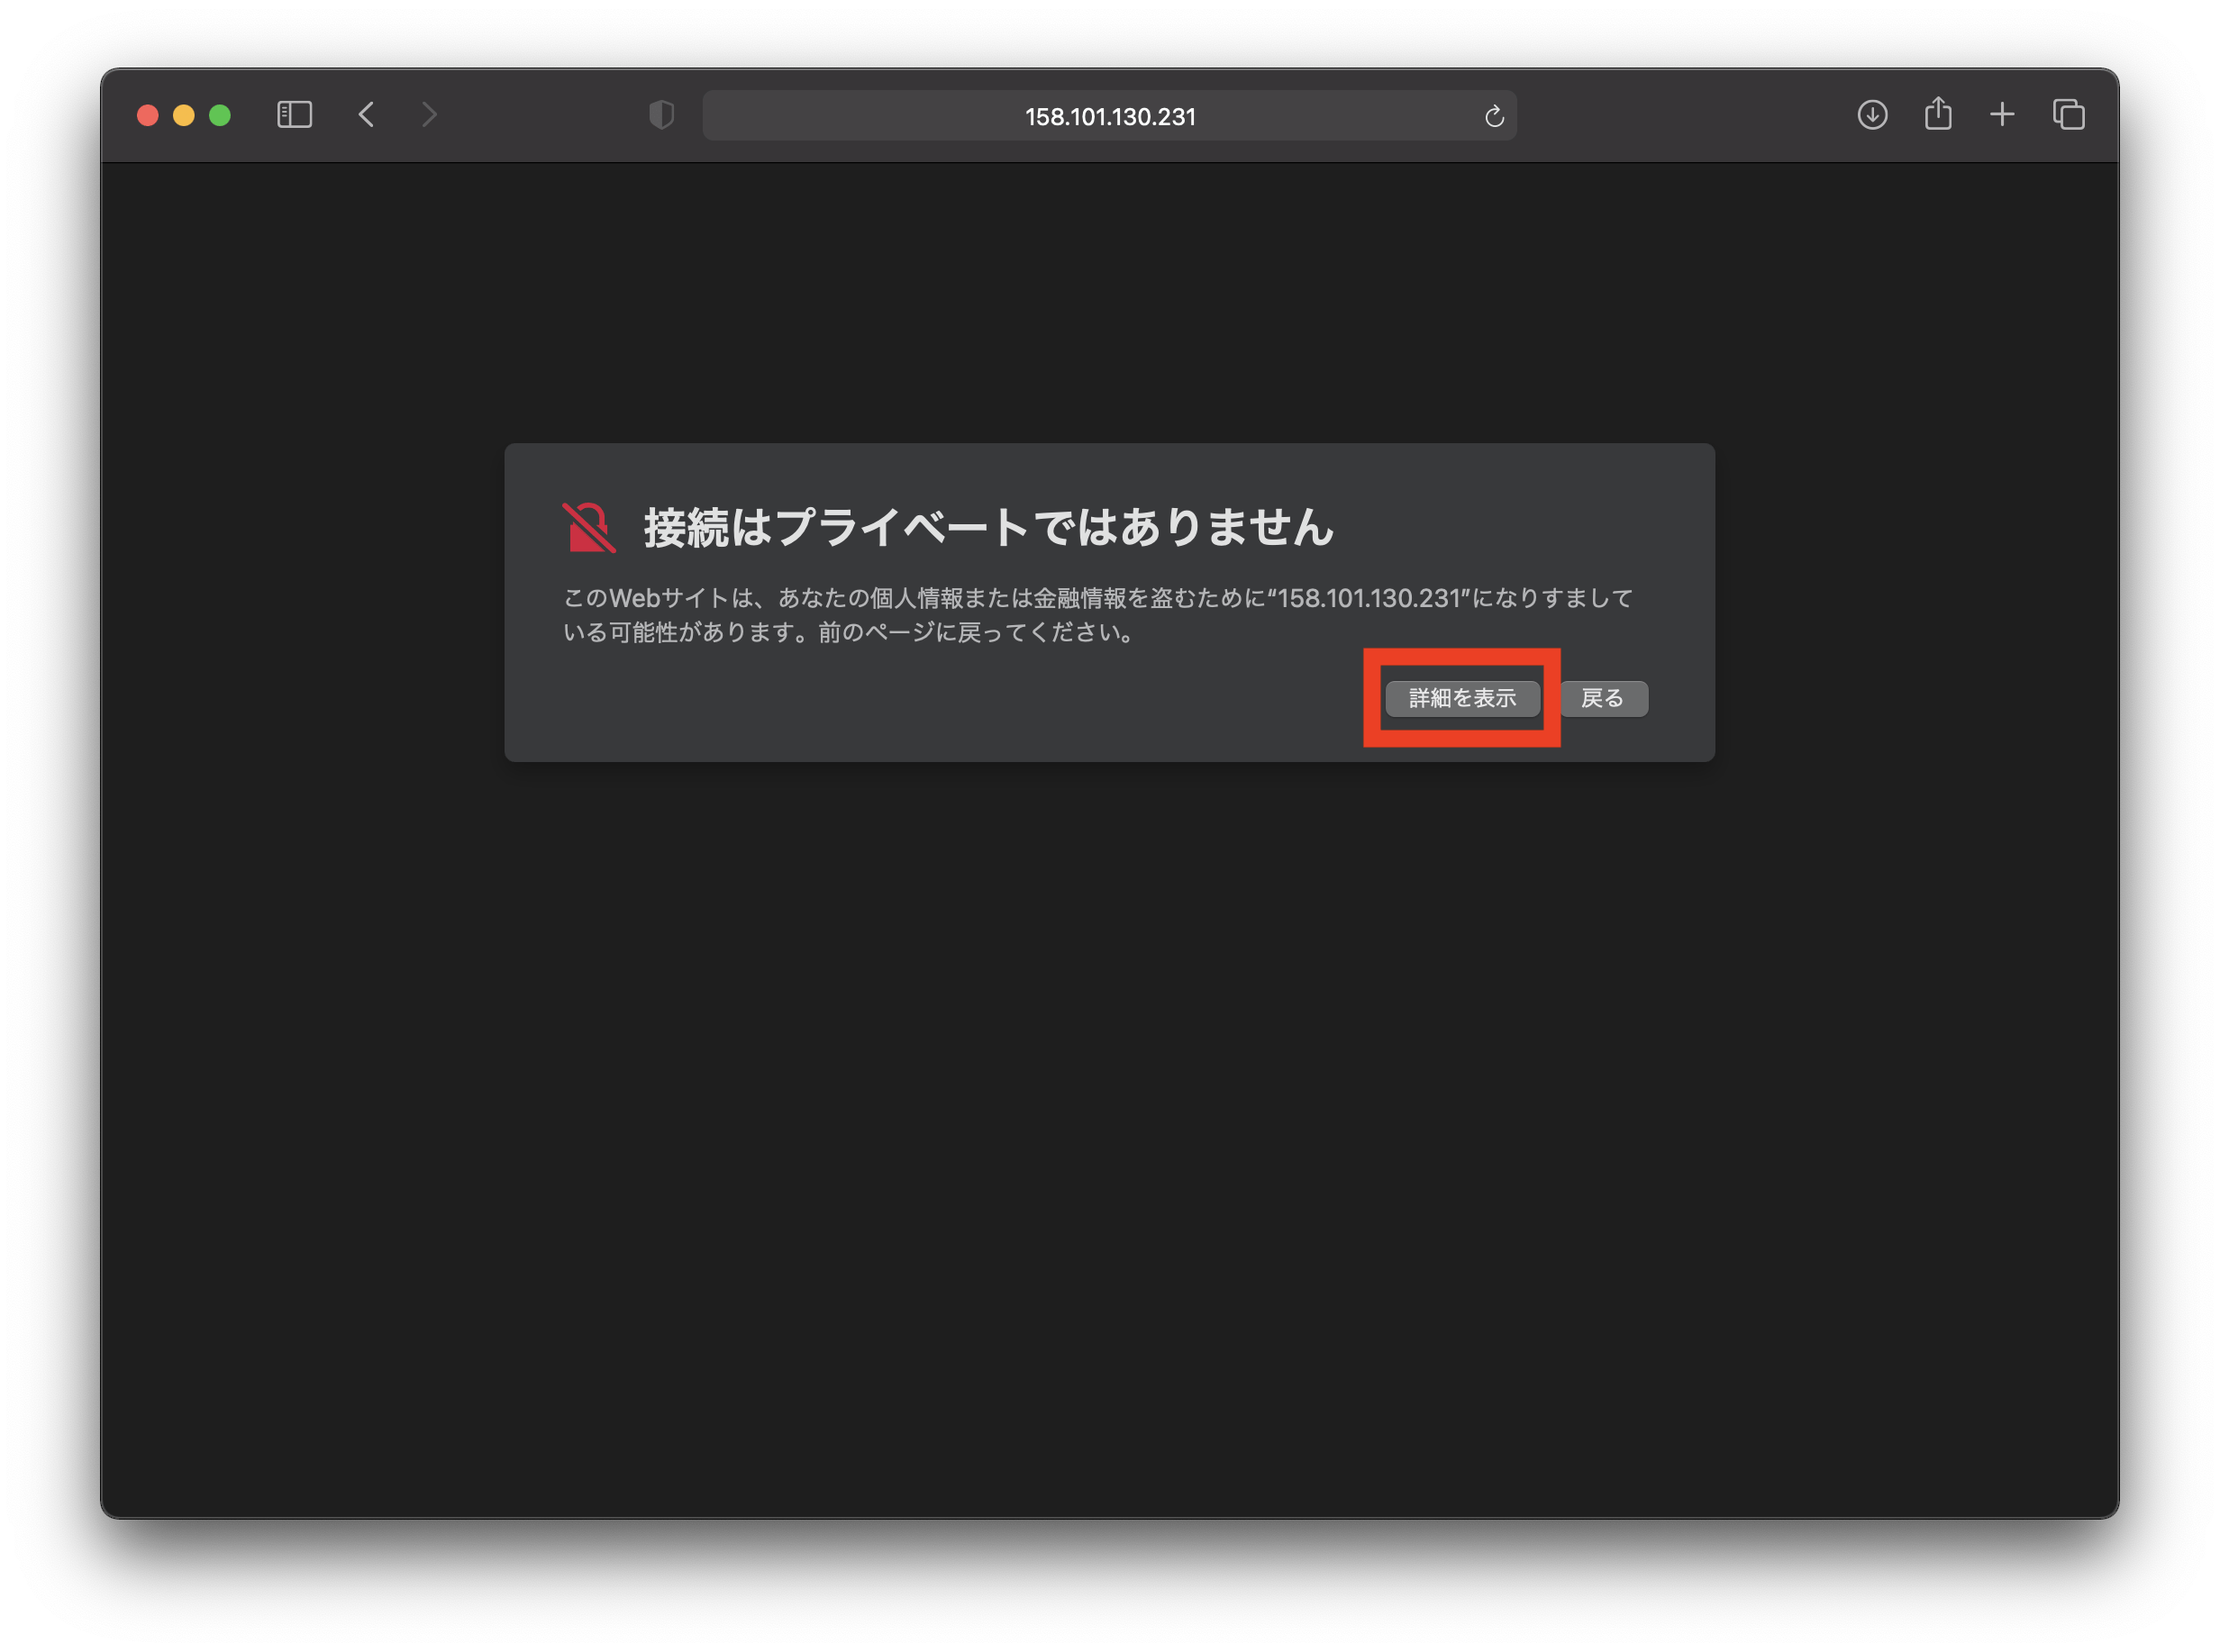
Open your browser and enter “https://xxx.xxx.xxx.xxx” in the URL and you will see the screen below.
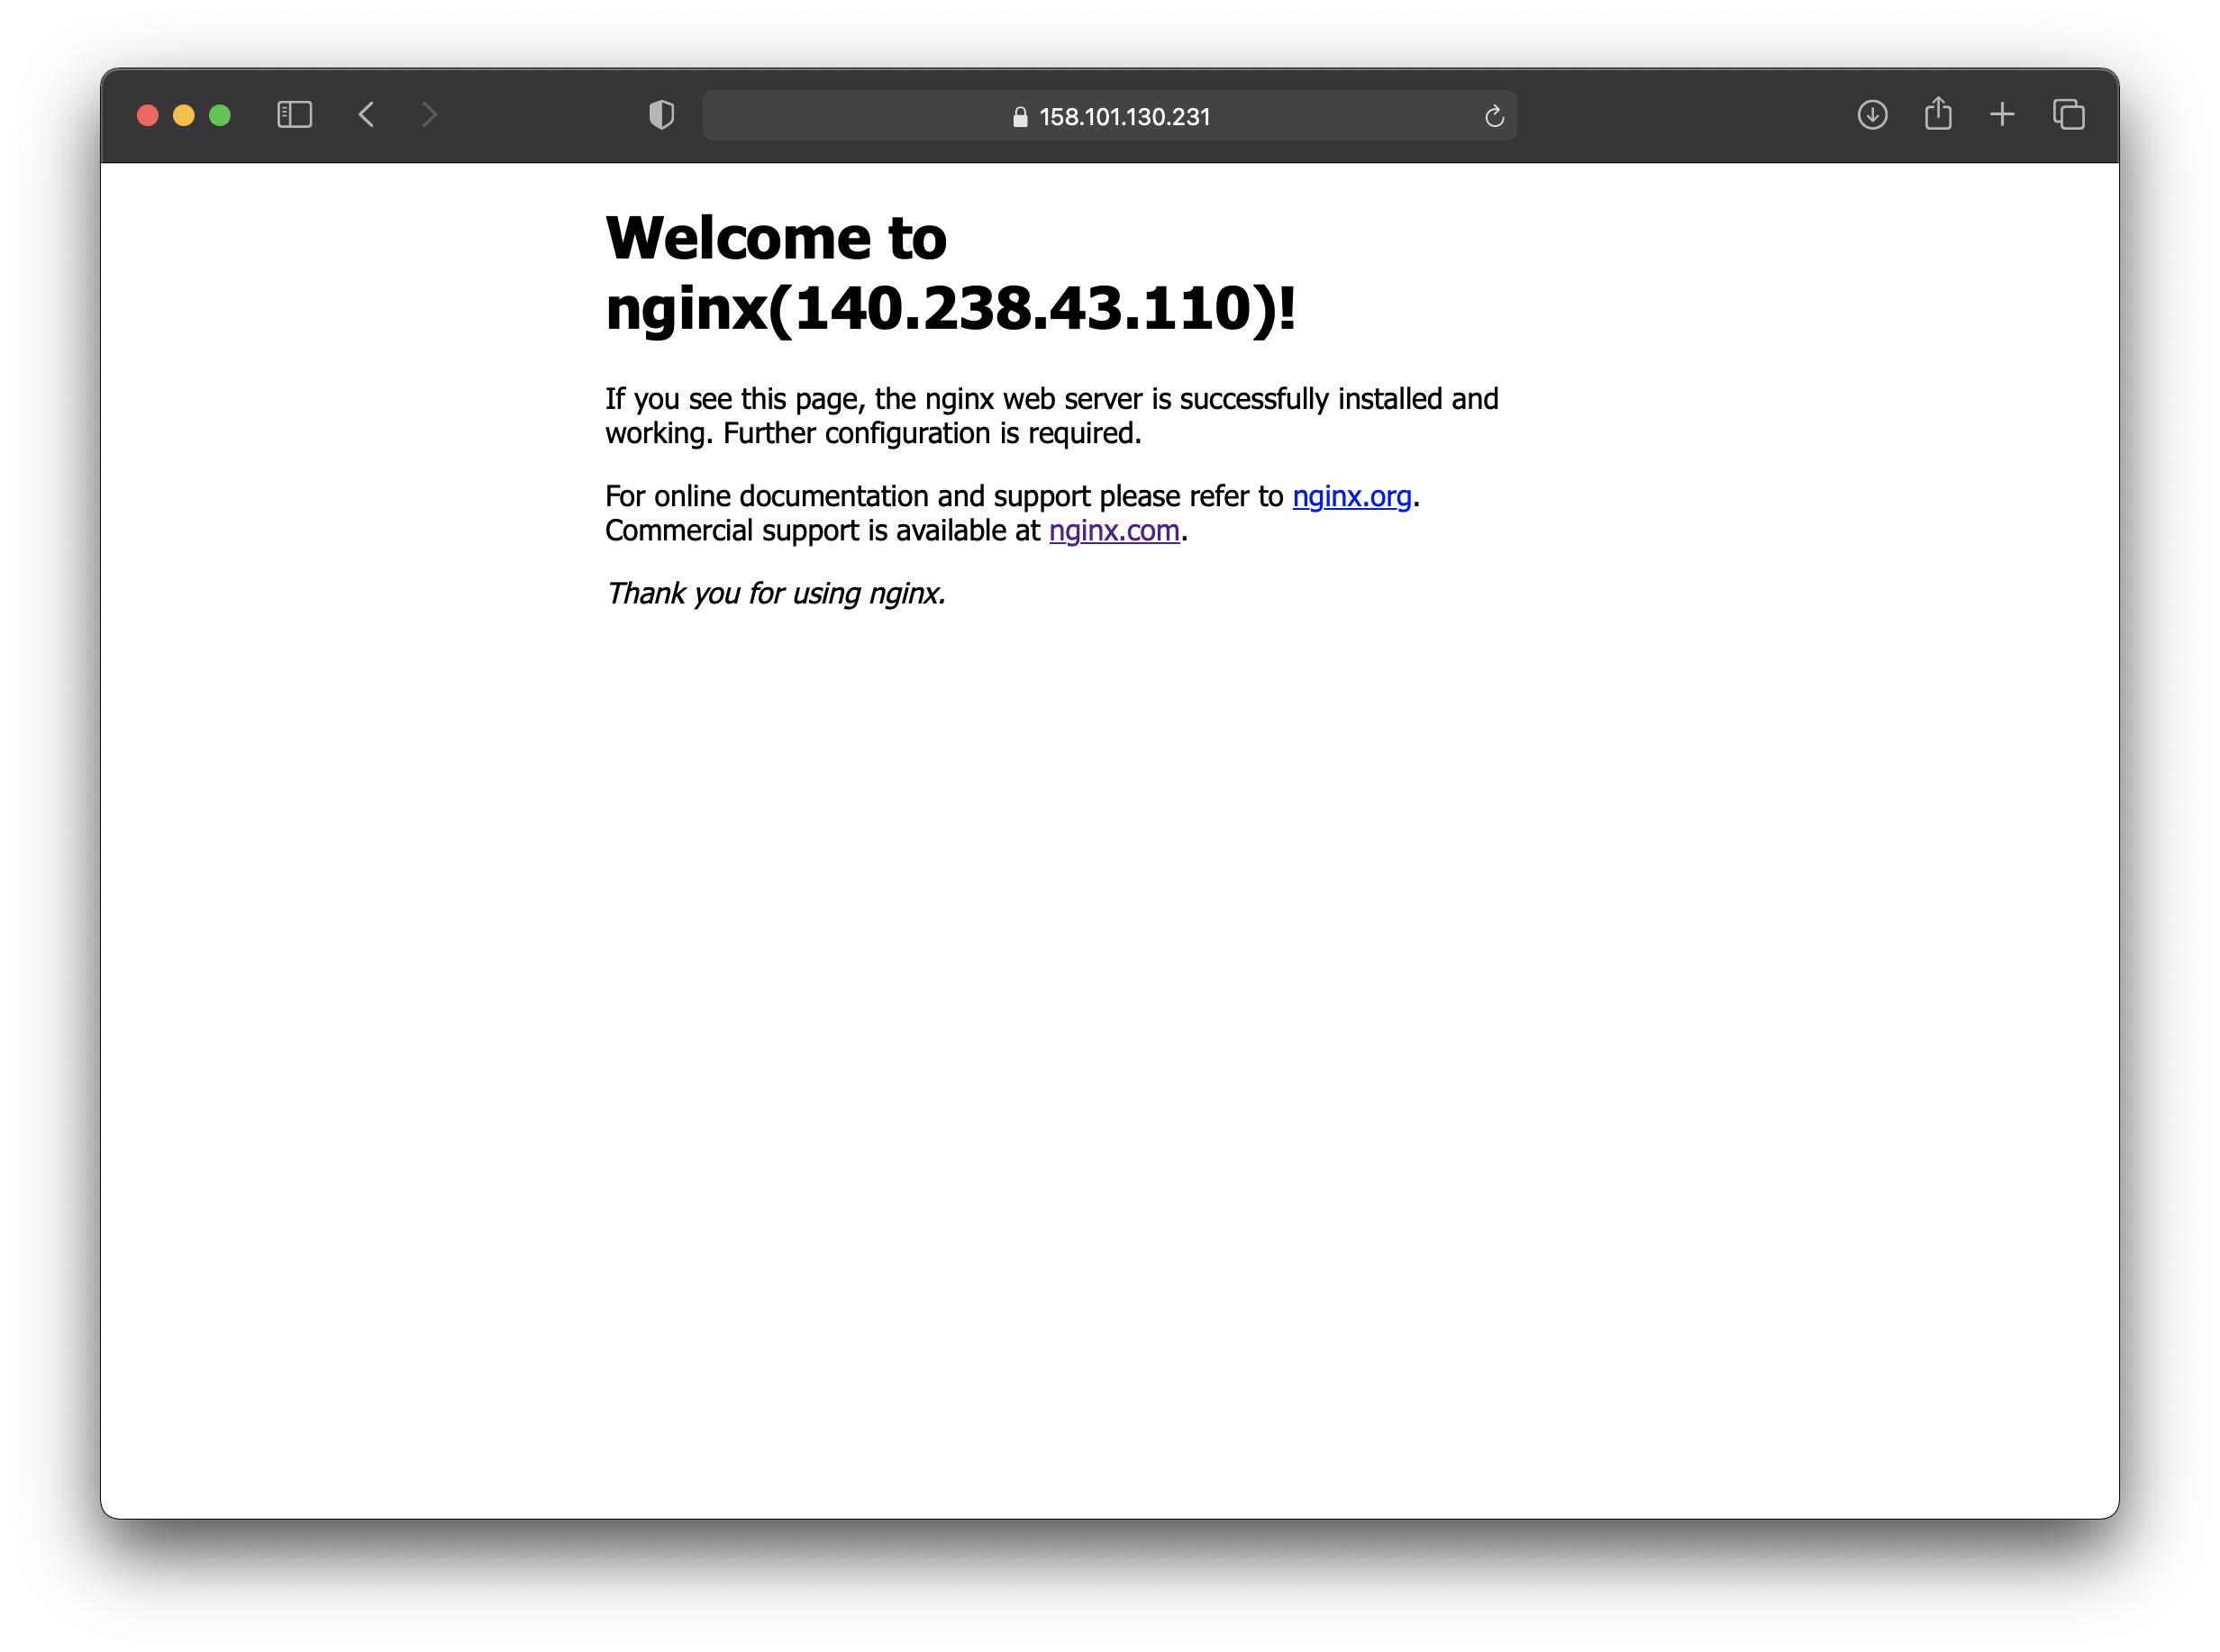
“Welcome to nginx (xxx.xxx)!” every time you update your browser display the display of xxx.xxx.xxx.xxx changes alternately. xxx.xxx.xxx.xxx will be the public IP address of the two Compute.
This is because the load balancer is configured round robin, so it alternately connects to the nginx of the two Compute and balances the load.
If you cannot display it in your browser, please refer to the following site.

Destroy environment
If you no longer need the environment you created or want to re-create it, you can run the following script to destroy it. If you want to rebuild after discarding, you can rebuild the environment in a few minutes by re-executing the procedure of “Building the environment”.
cl-configure/oci/envs/dev/oci-destroy.commandWhen you run the script, you will see the following message, and if you type “yes” according to the message, the resource will be destroyed and the process will be completed in about a few minutes.
Do you really want to destroy all resources?
  Terraform will destroy all your managed infrastructure, as shown above.
  There is no undo. Only 'yes' will be accepted to confirm.

  Enter a value:
Comment