At first
Sometimes you need an SSL certificate for testing when you are developing a web application or building a cloud environment.
At such times, it may be time consuming or costly to ask the certificate authority to issue it, so you may make a self-certificate to prove yourself and confirm it.
However, recently, the security of browsers and operating systems has become stricter, so if you do not set it as a self-certificate, it may not be displayed in the browser.
This page explains how to create a self-certificate and how to display a self-certificate site in your browser.
How to create a self-signed certificate
Self-signed certificates can be easily created with the following command:
Https communication can be performed by setting the completed private key file and certificate file to a web server, etc.
openssl genrsa -out "ca_key.pem" 2048
openssl req -new -key "ca_key.pem" -out "ca_cert.csr"
openssl x509 -req -days 825 -in "ca_cert.csr" -signkey "ca_key.pem" -out "ca_cert.pem"
The following files are created when you run the command:
| ca_key.pem | Private key file |
| ca_cert.csr | CSR file CSR is a file that is used to make a certificate signing request and contains a public key that is contrasted with a private key with a distingued name, such as the name or location of the organization. |
| ca_cert.pem | Certificate file where the CSR file is signed with the private key file Actually, it is necessary to sign with the private key of the certificate authority, but this time it is a self-signed certificate because it is signed with the private key created by myself. |
If openssl is not installed
Windows
Download and install from the following site.

Ubuntu
Run and install the following command:
sudo apt-get install openssl
Mac version browser
Safari
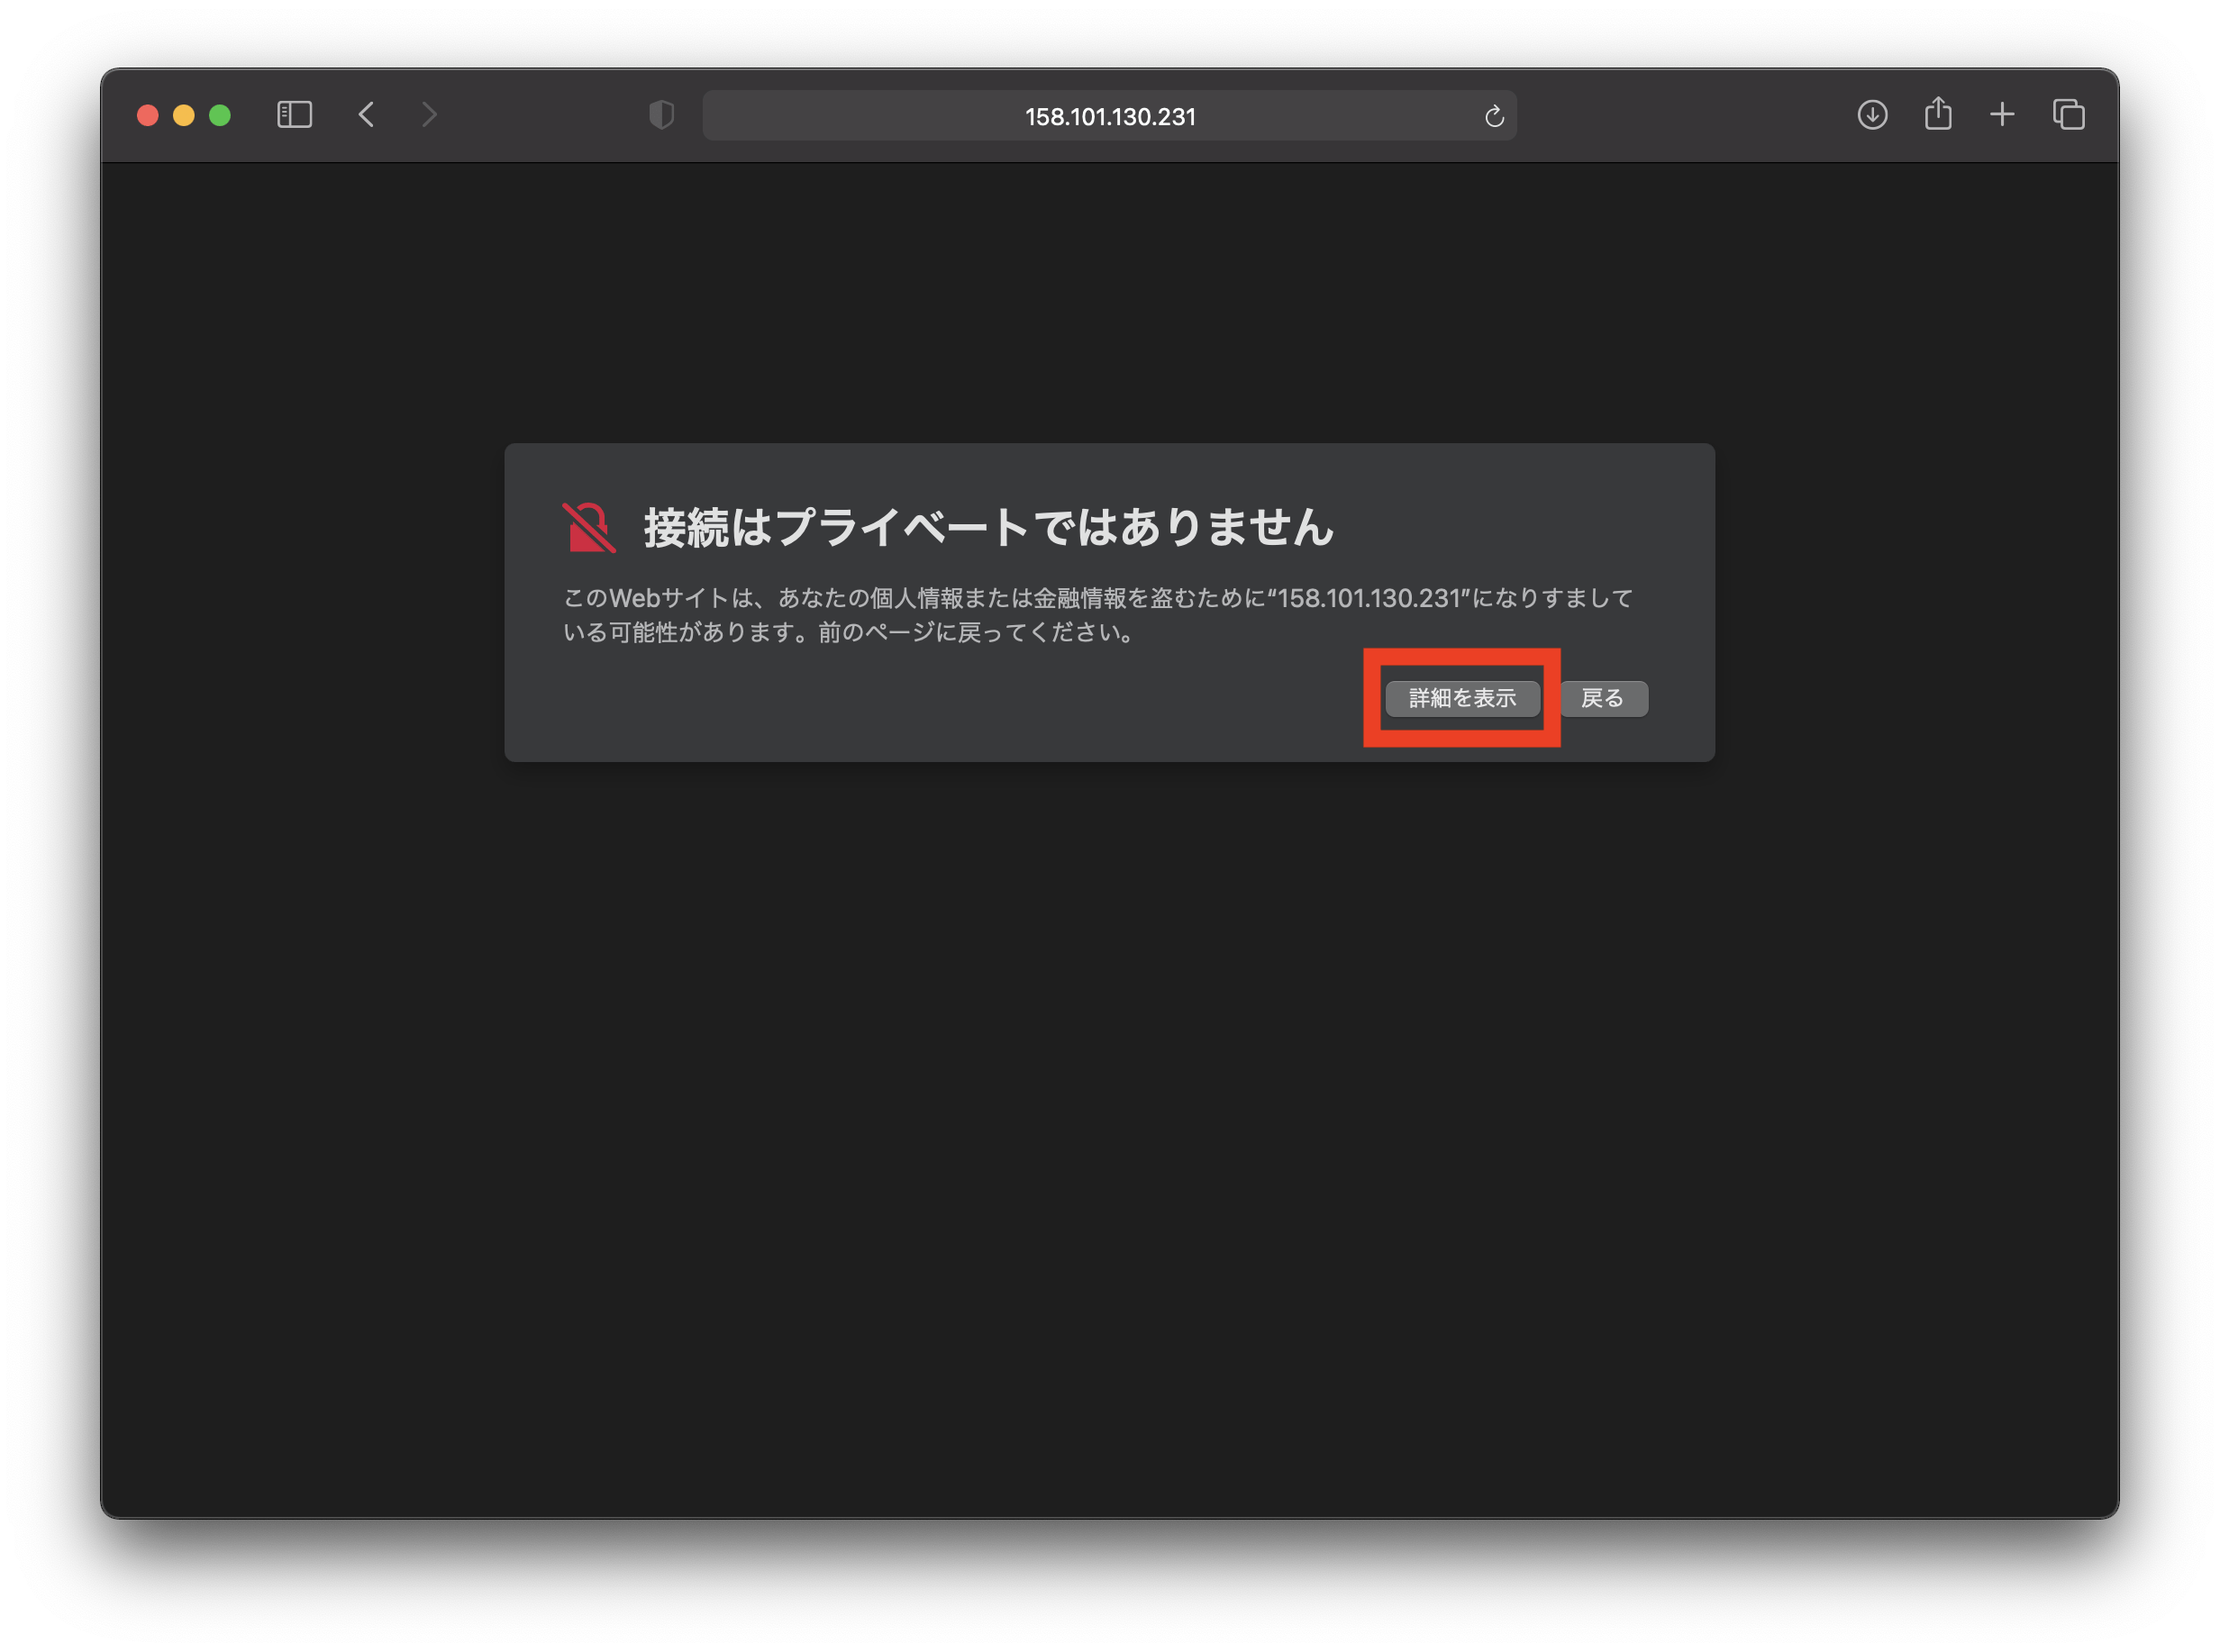
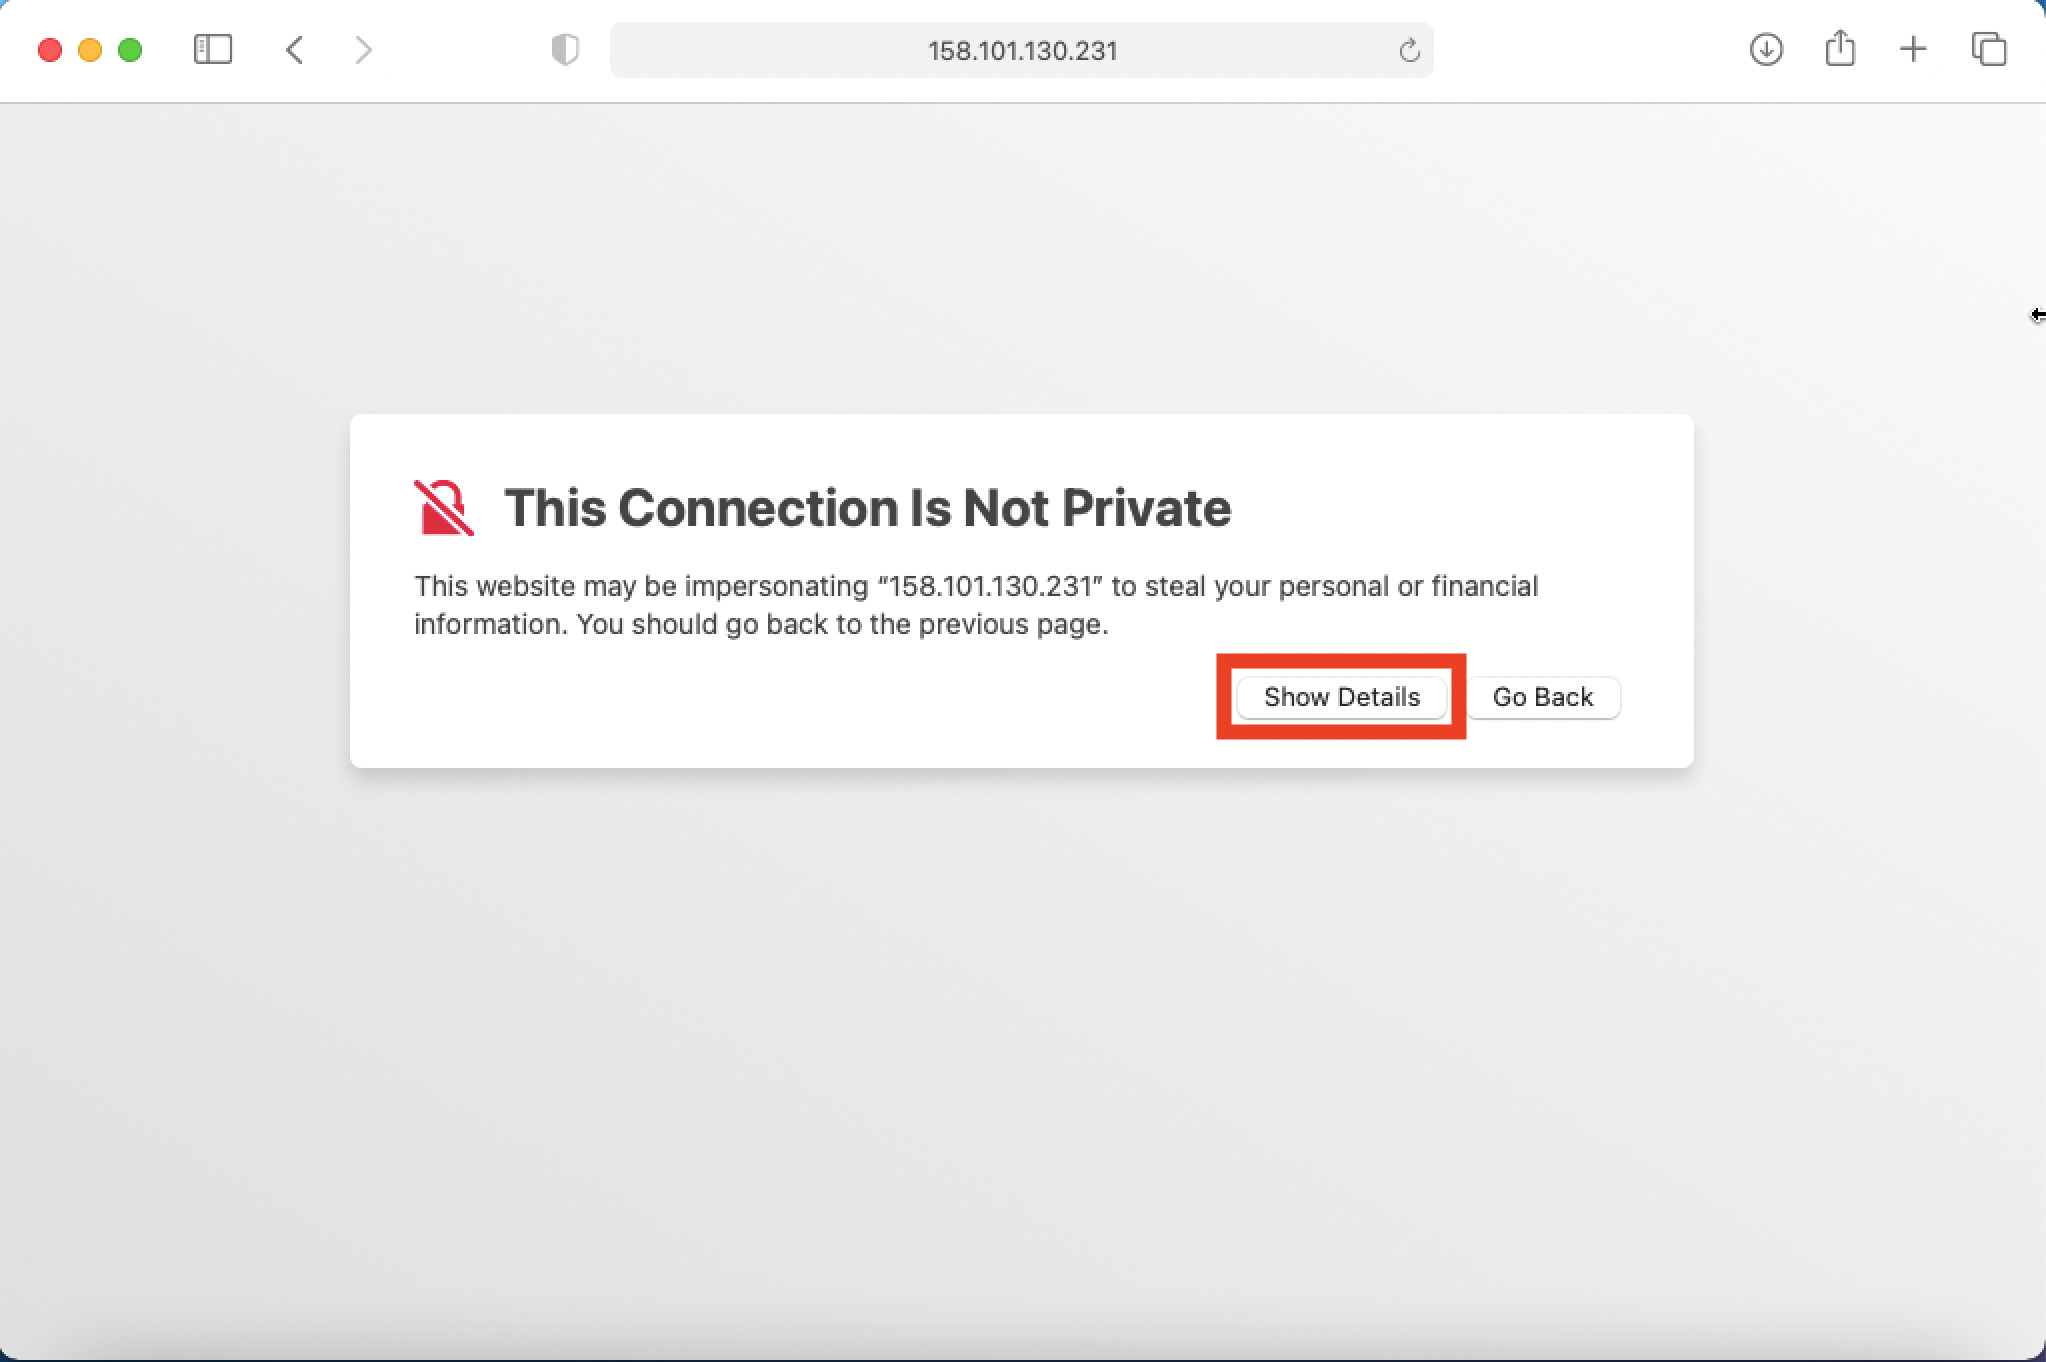
When you view the self-certificate site in Safari, the screen below will be displayed, so click “Show Details”.
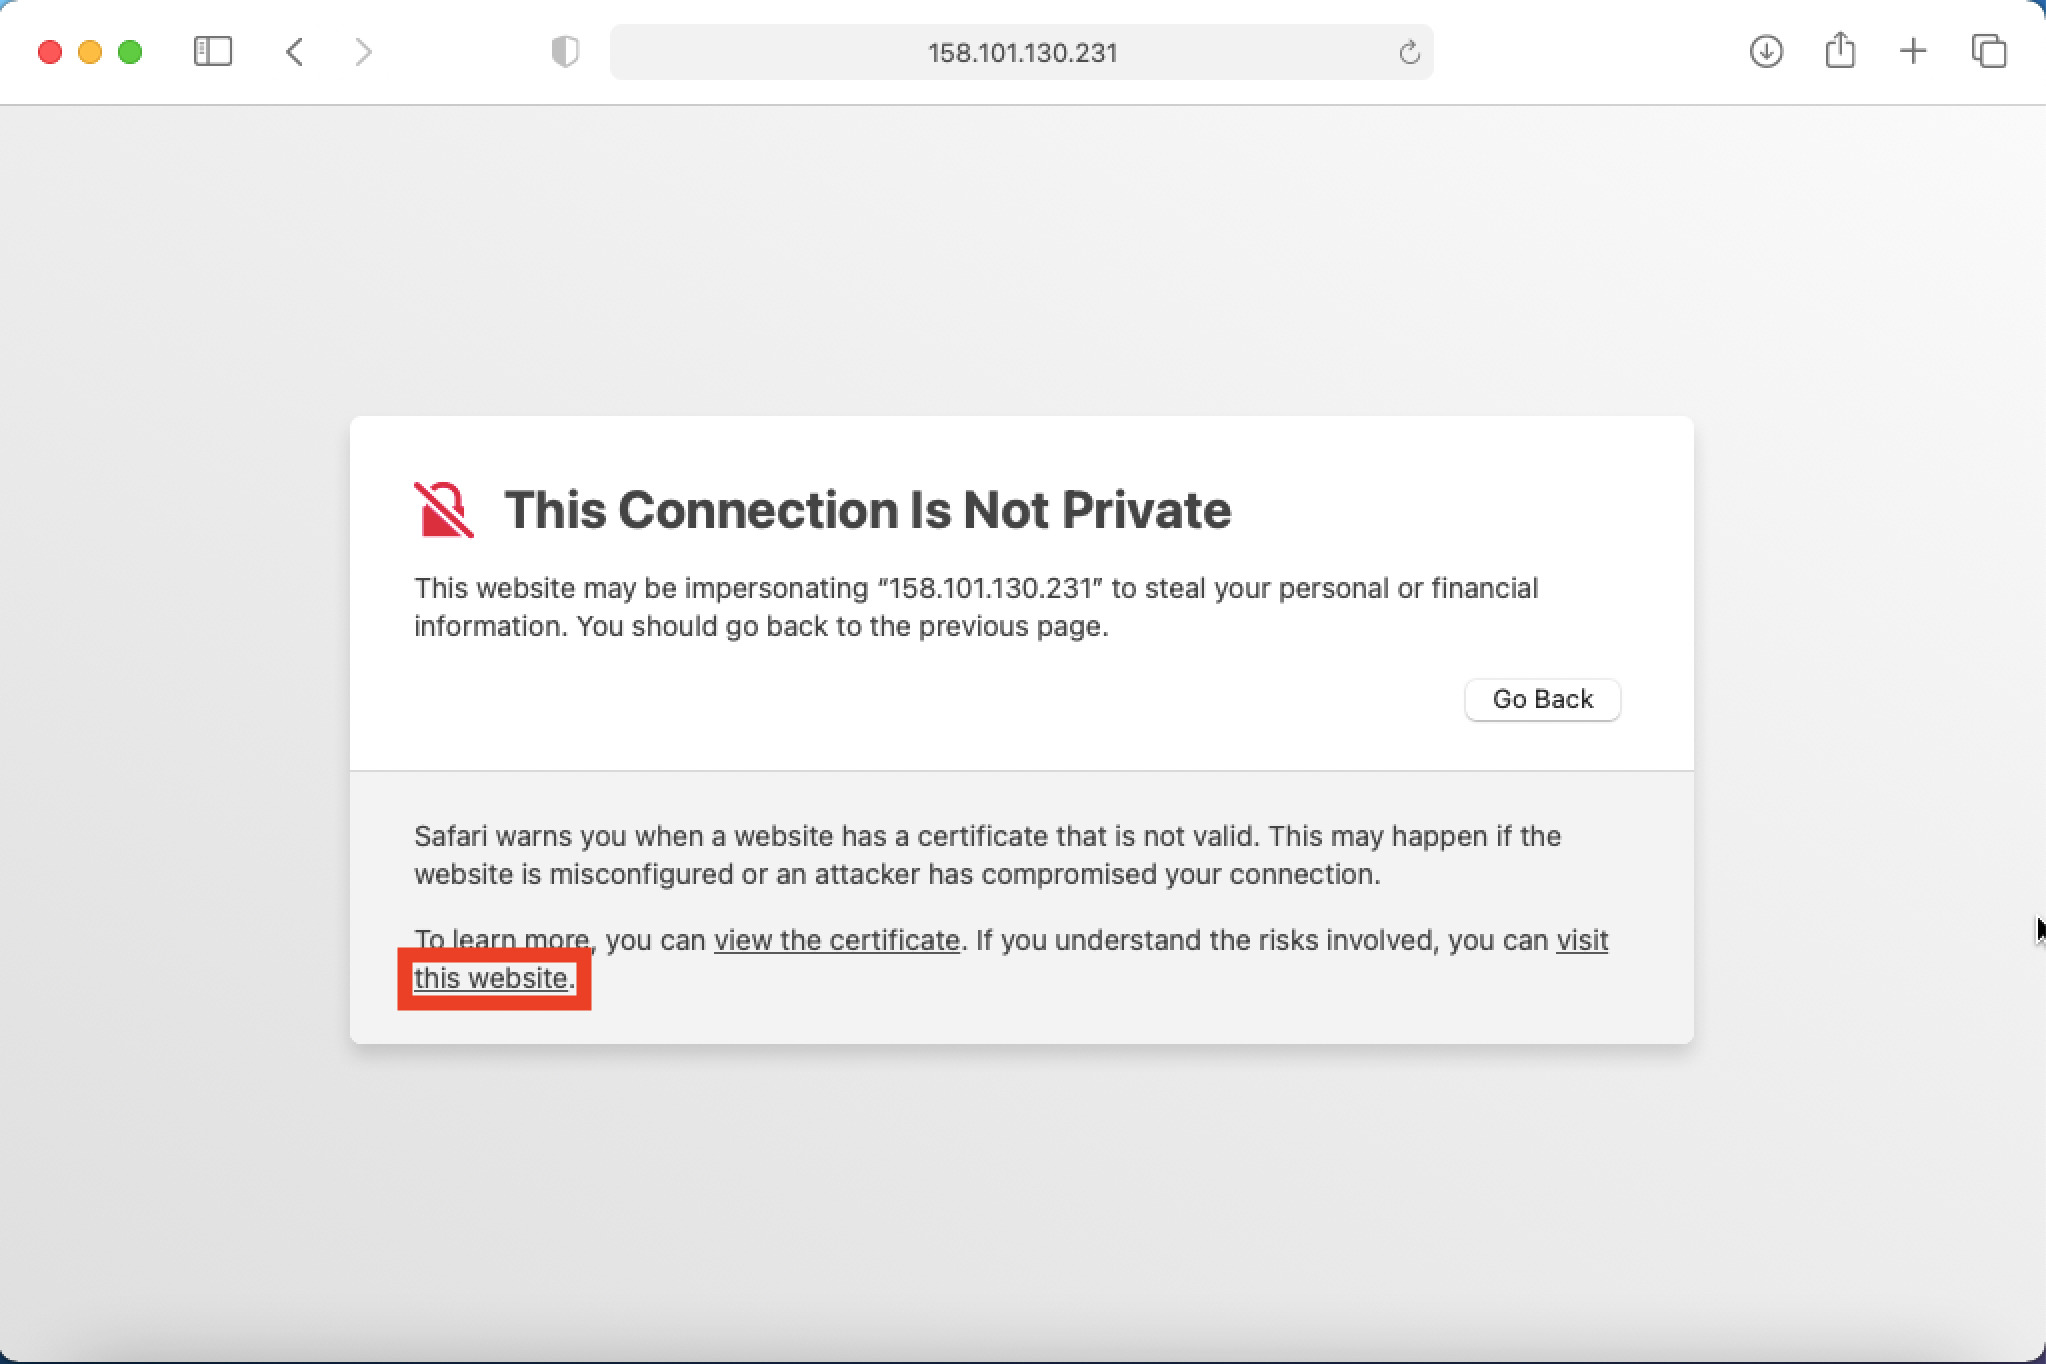
Click “vist this website”.
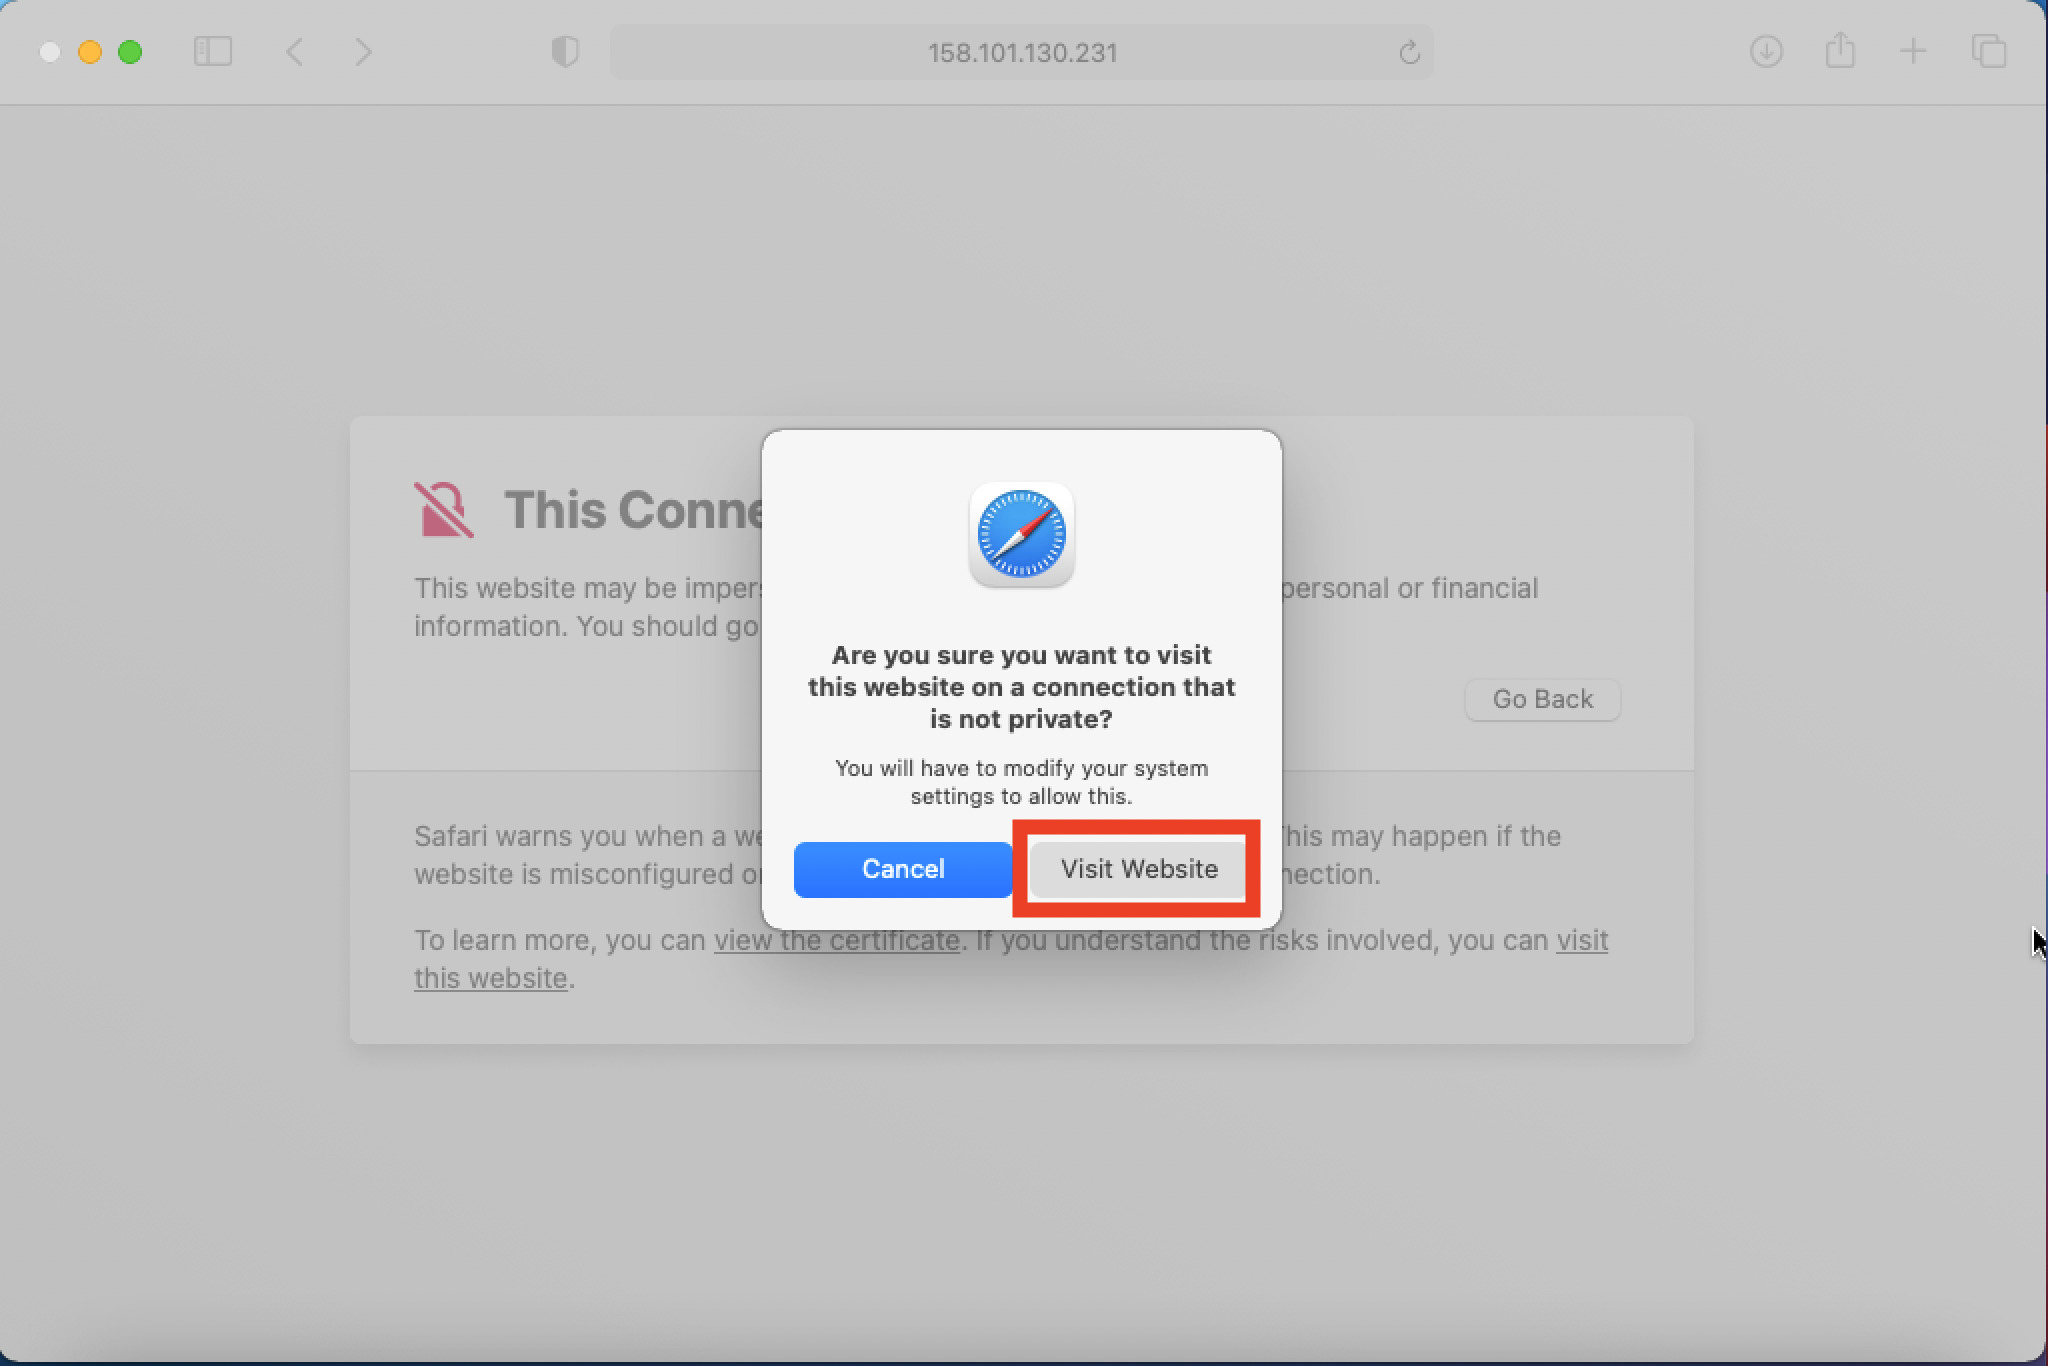
After clicking “Visit Website” and authenticating the password of the OS, the site will be displayed.
Chrome
To view the self-certificate site in Chrome, follow the steps above in Safari so that you can view it in Safari, and then follow these steps:
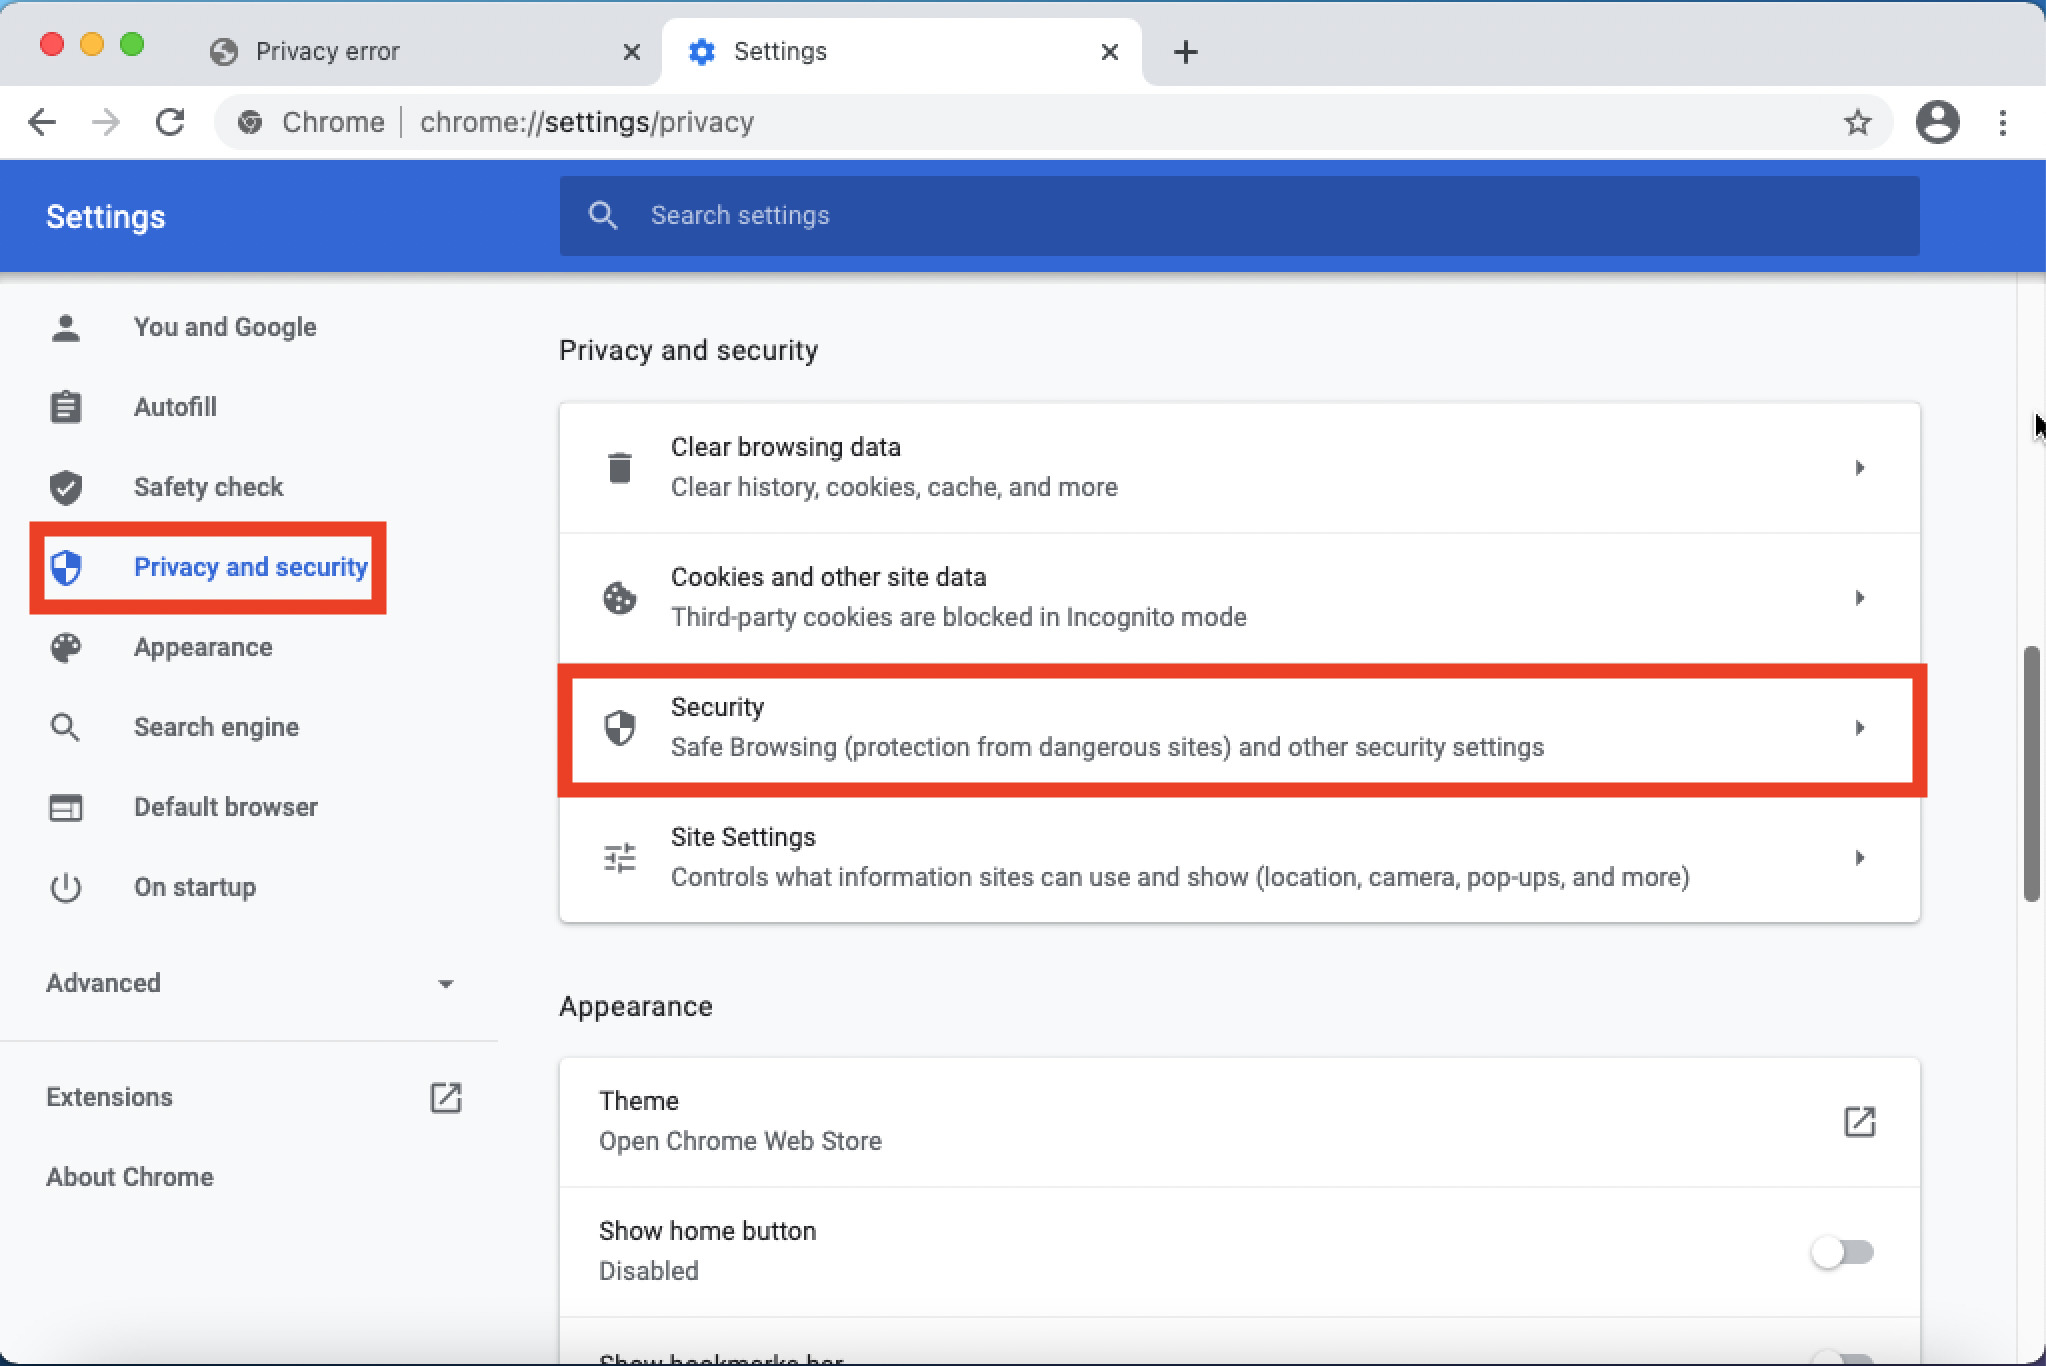
When you access the self-authentication site with Chrome, the screen below will be displayed, so click “Settings” from “Ccustomaize and control Google Chrome” on the upper right.

Click “Security” in “Privacy and security”.
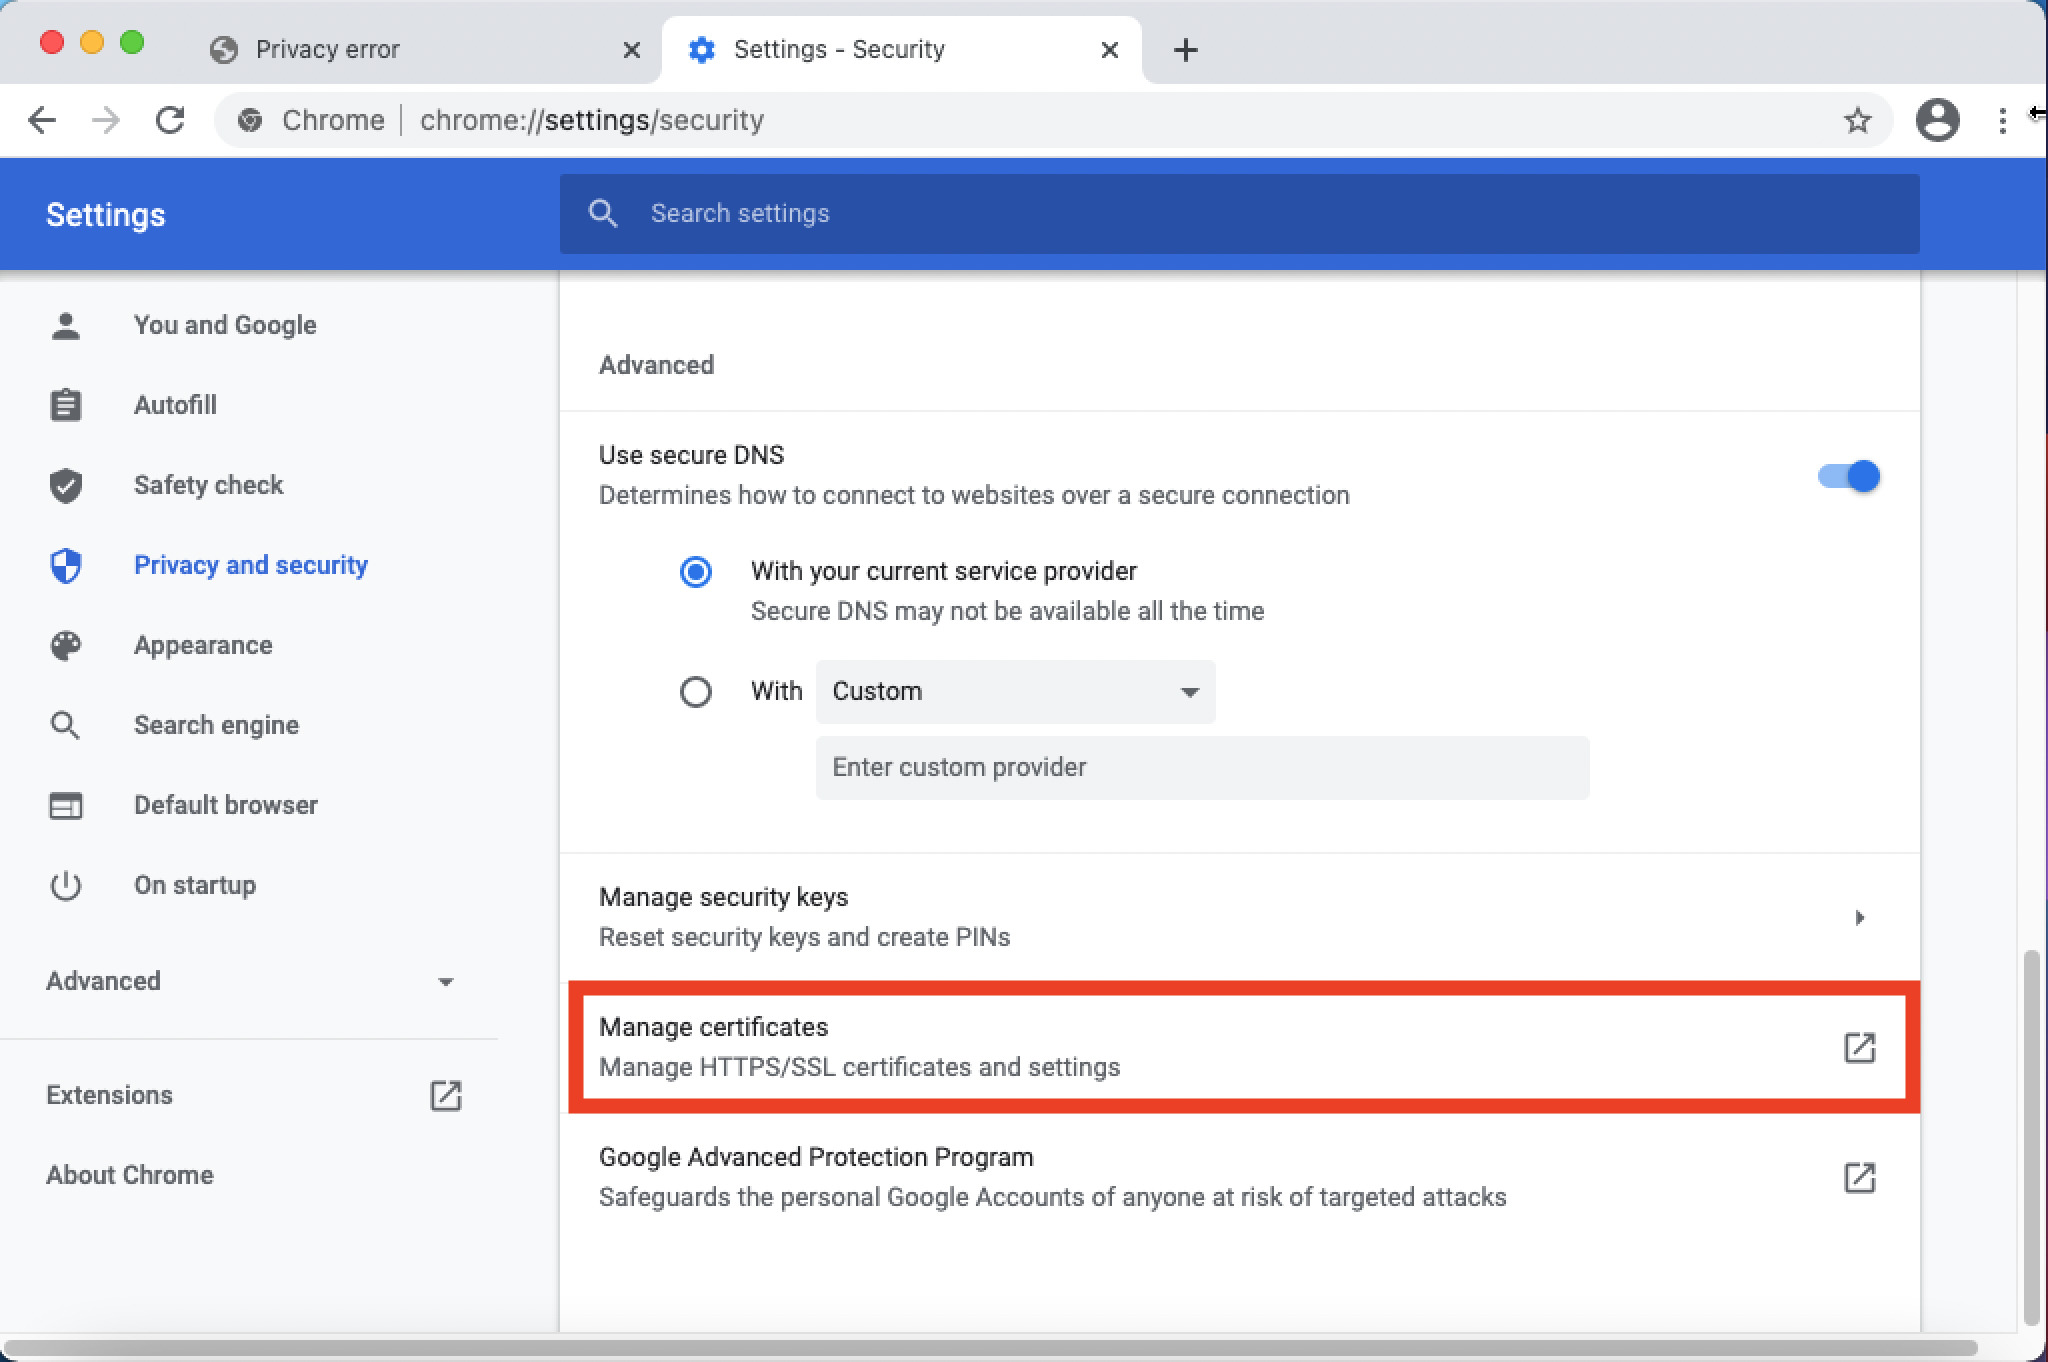
Click “Manage certificates”.
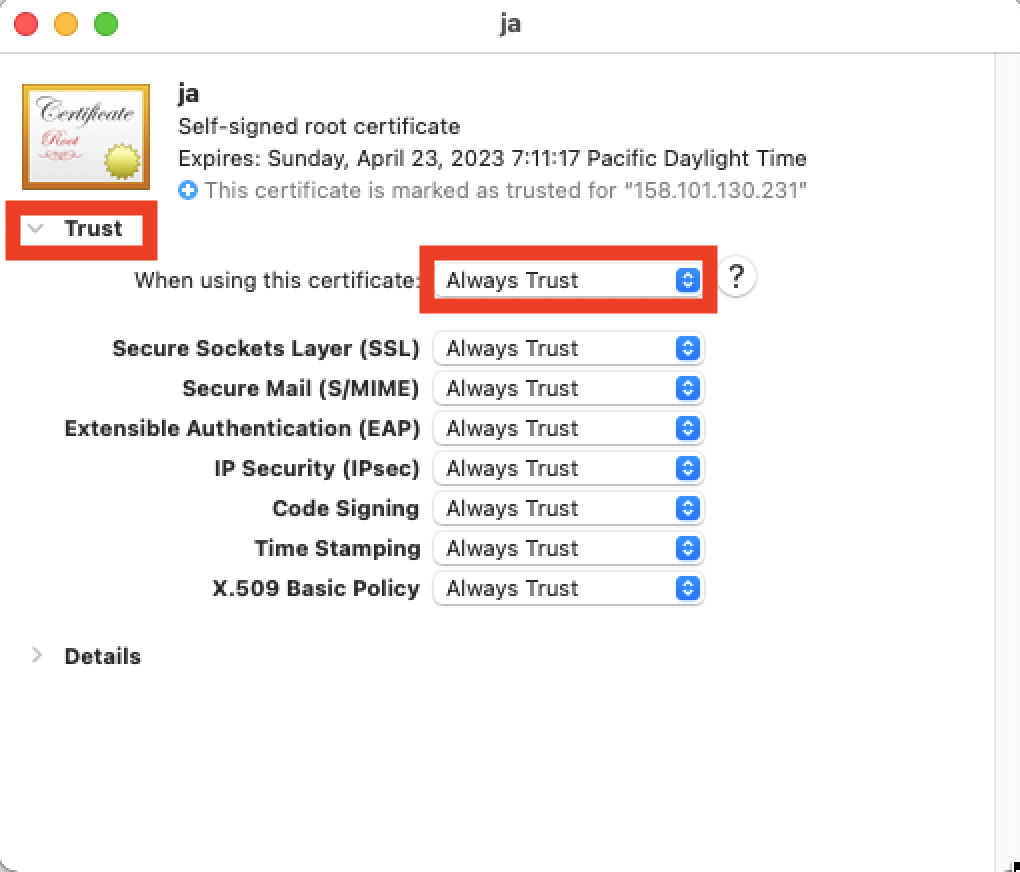
A self-certificate has been added to the Keychain Access, so click it.

Click “Trust” to view it, change “When using this certificate” to “Always Trust”, and close the screen to authenticate the OS password.
If you view the site again in Chrome and click the “Proceed to xxxx (unsafe)” link from “Advanced”, the site will be displayed.

Windows version browser
Edge (Chromium version)
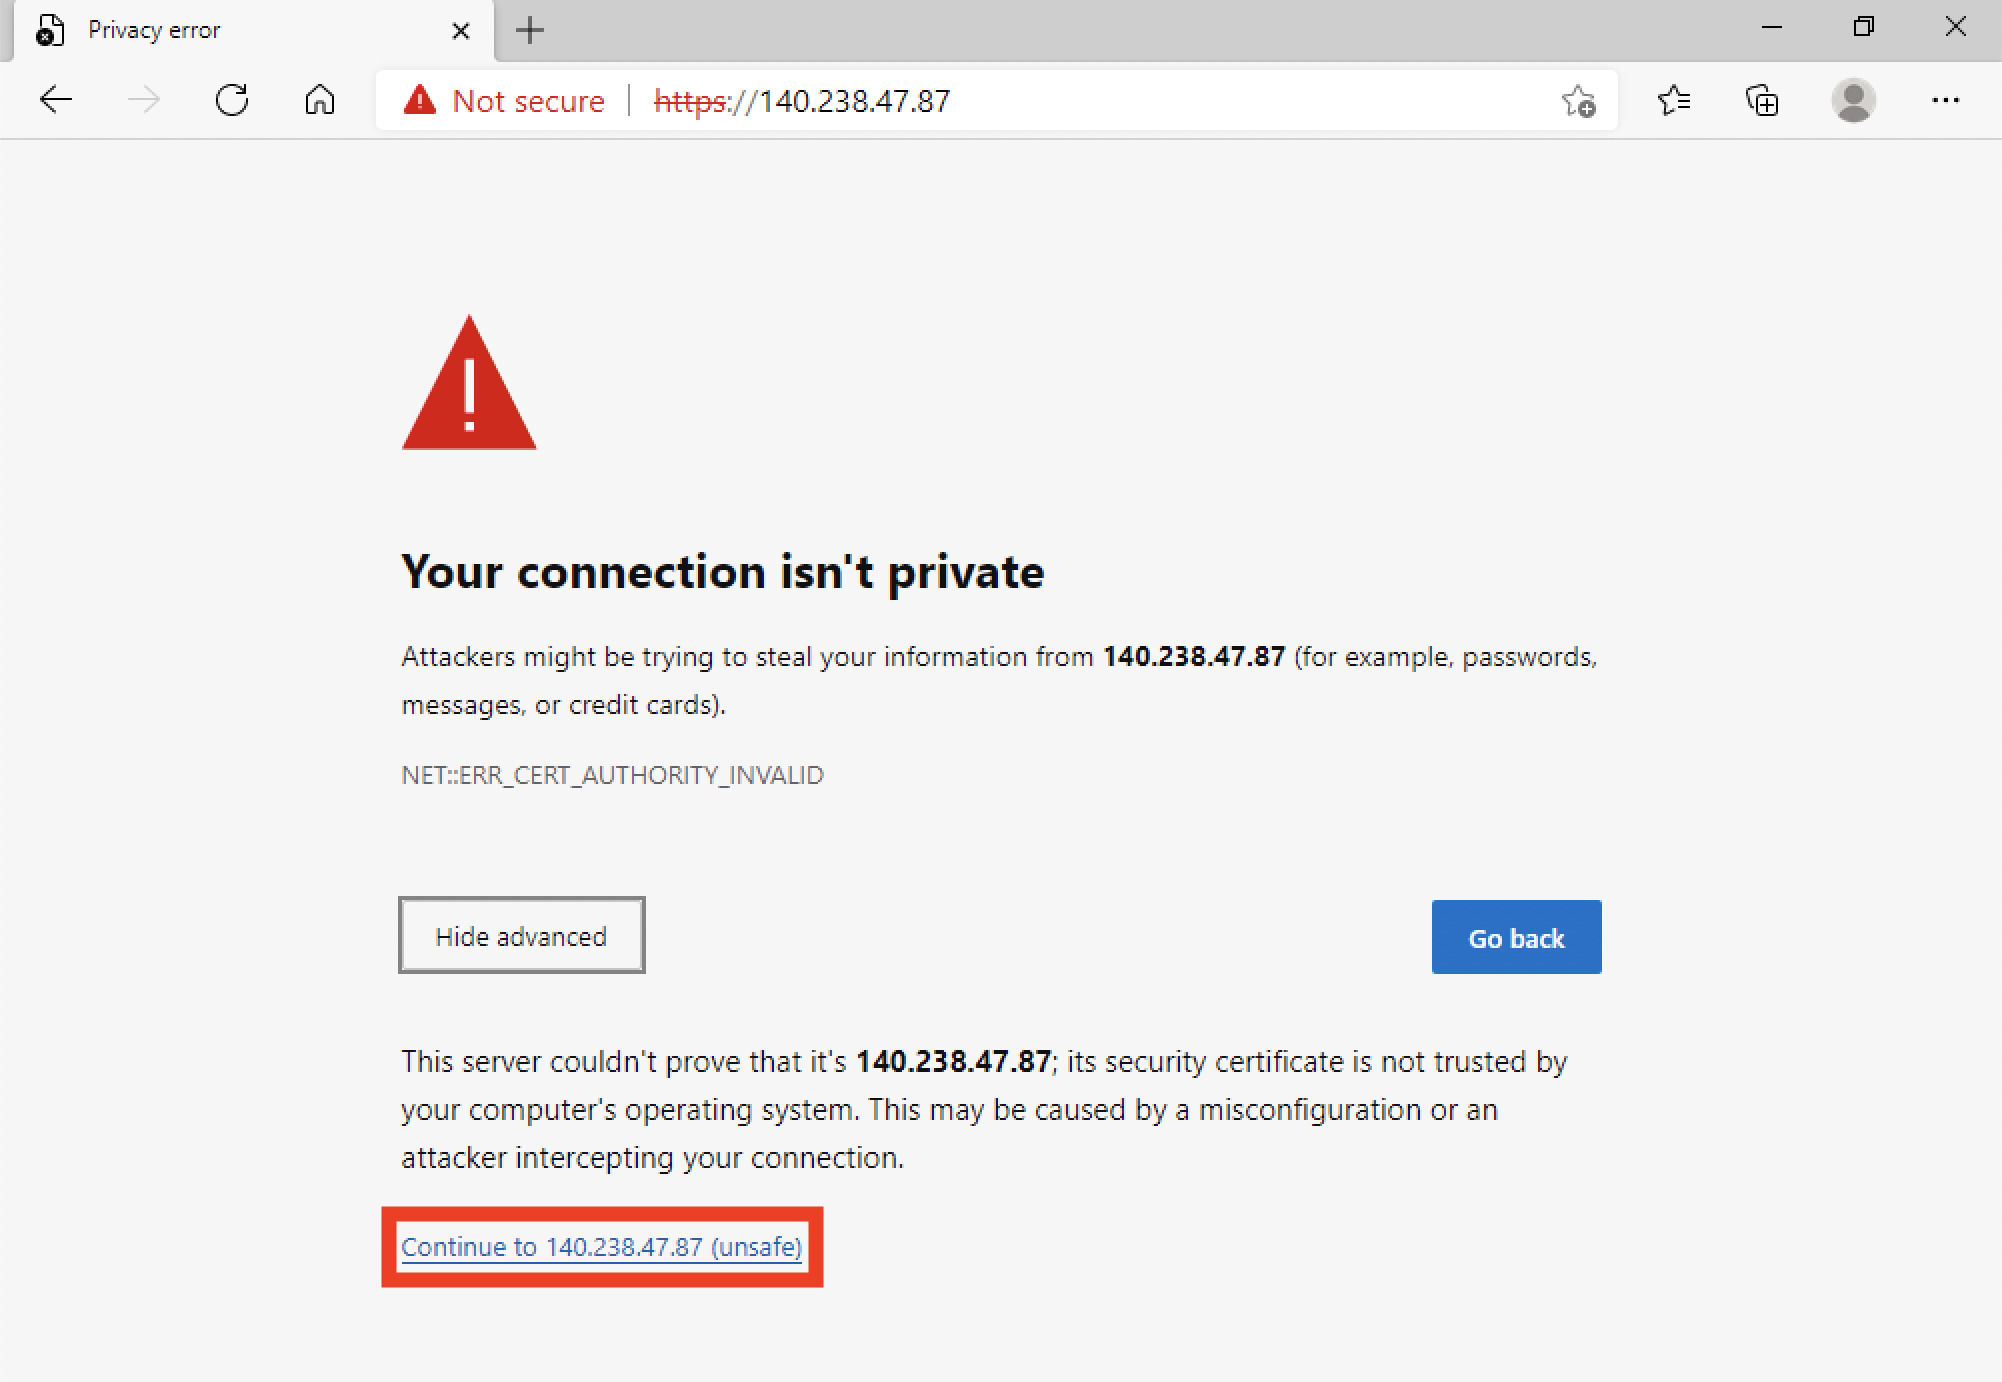
When you display the self-signed certificate site on Edge (Chromium version), the screen below will be displayed. Click “Advanced”.
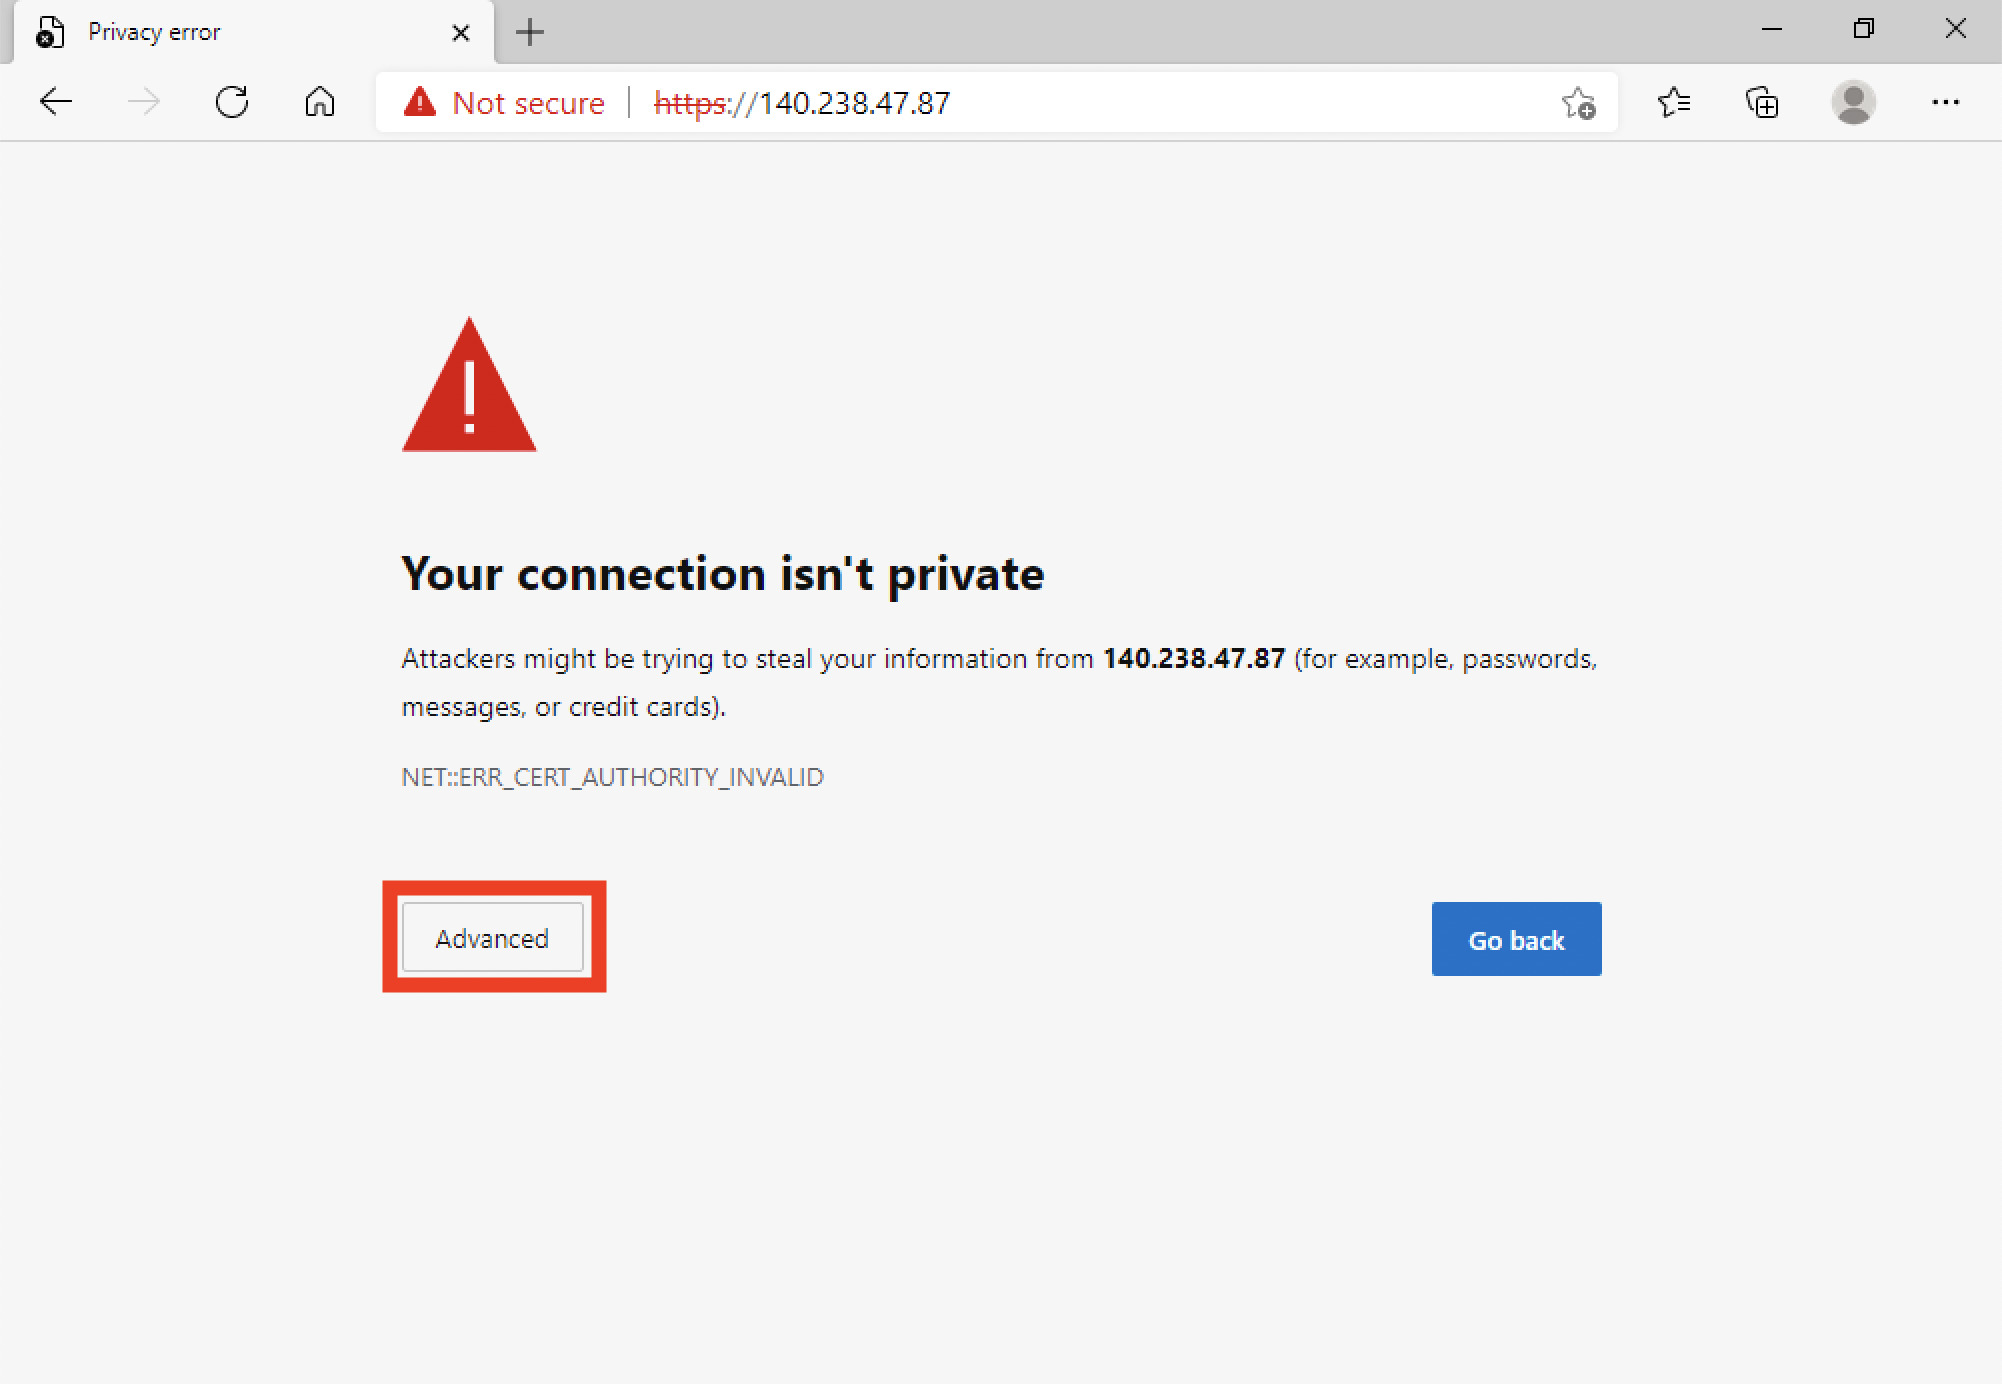
Click “Continue to xxx.xxx.xxx.xxx(unsafe)” to see the site.
Chrome
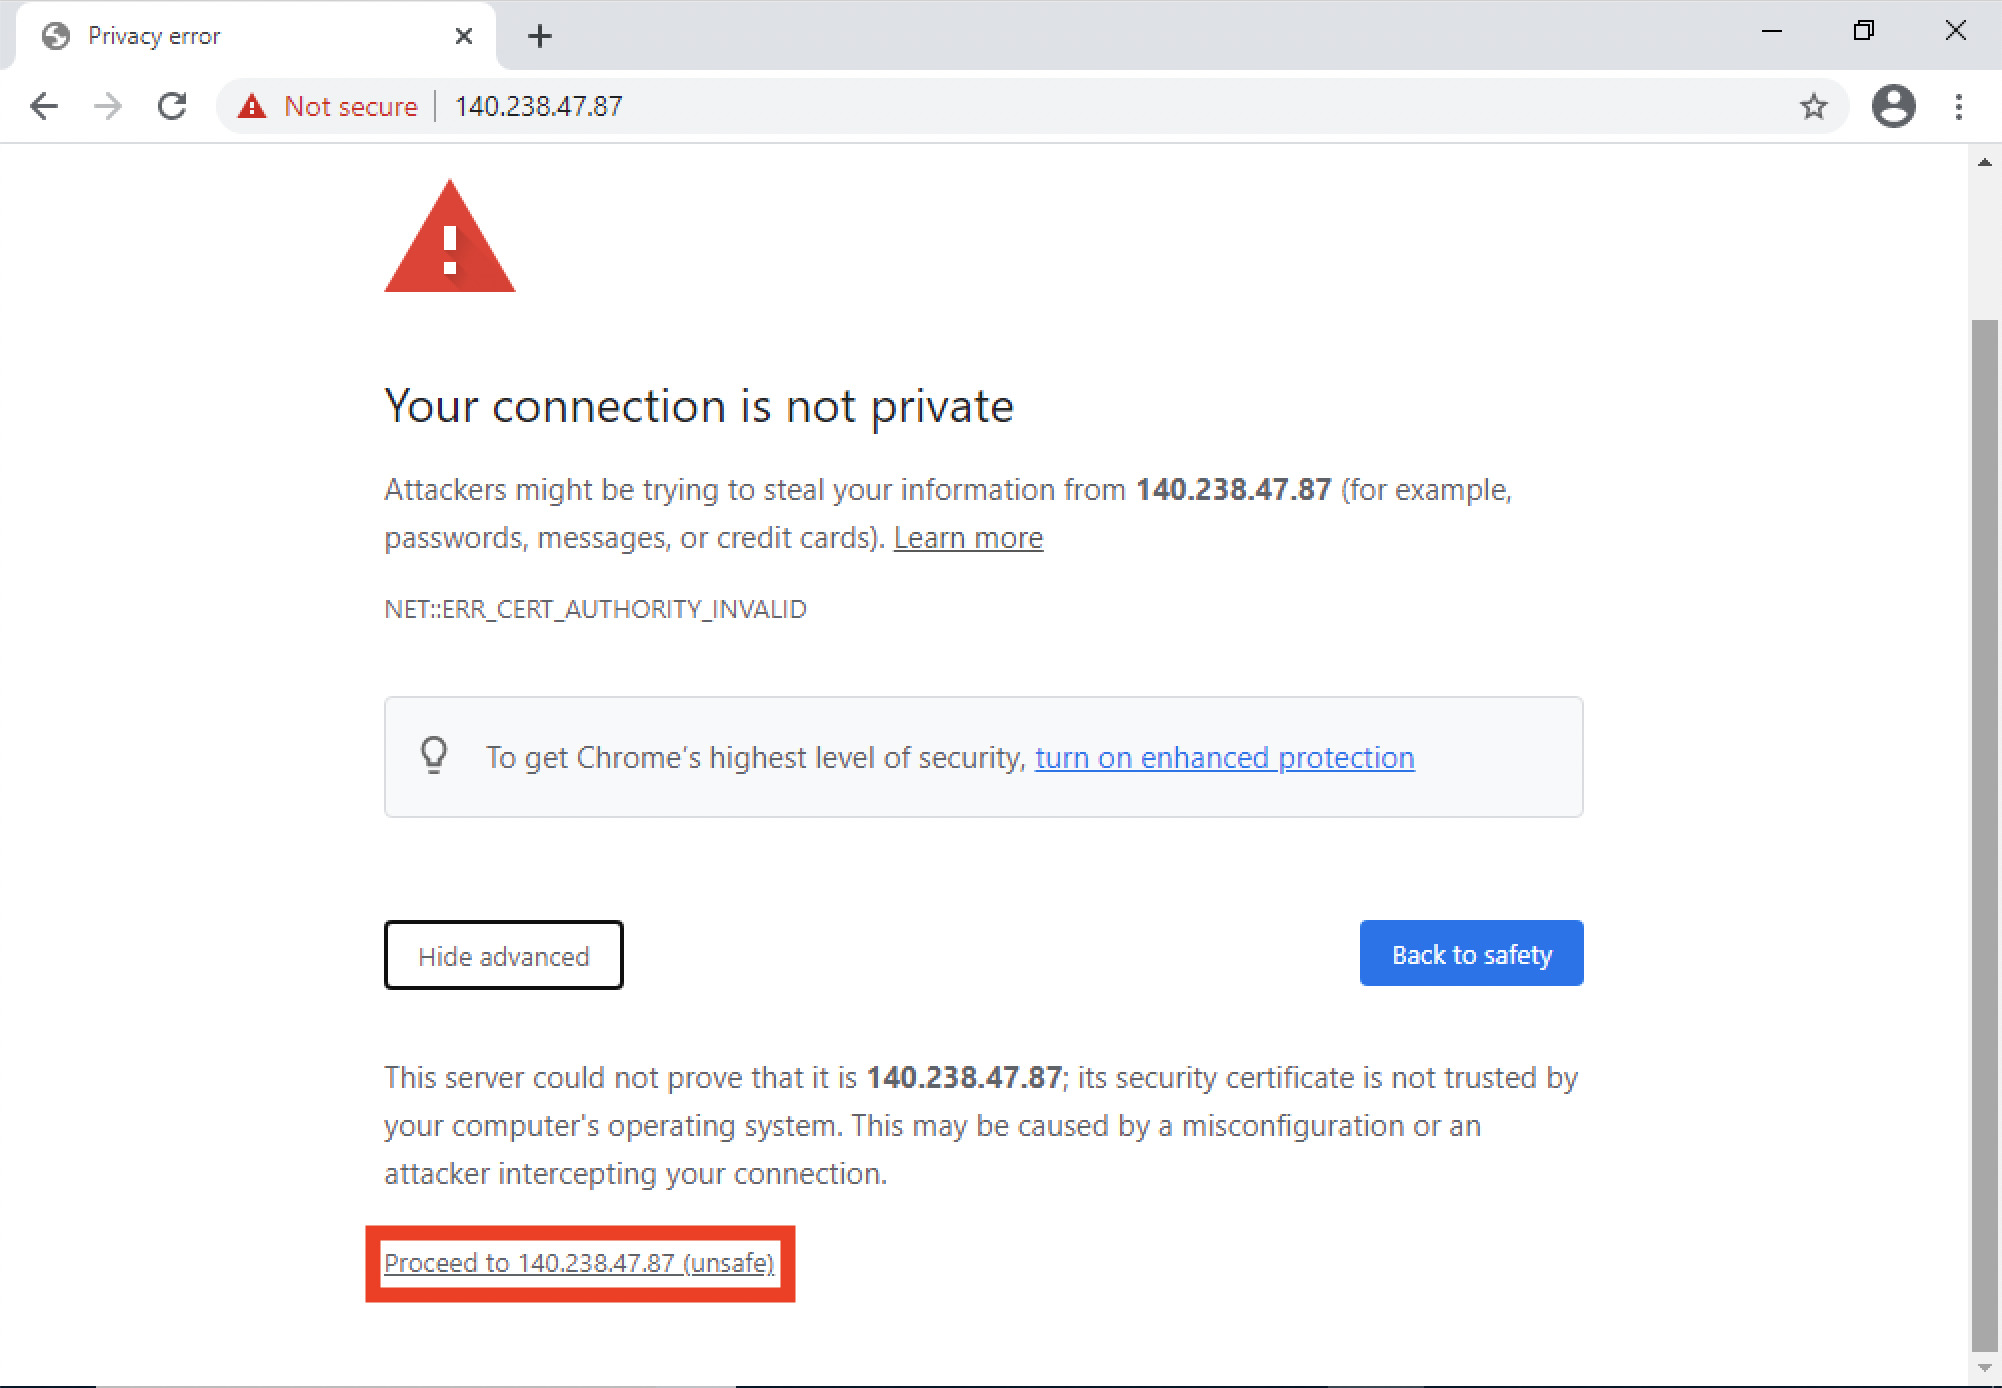
When you display the self-signed certificate site on Chromw, the screen below will be displayed. Click “Advanced”.

Click “Proceed to xxx.xxx.xxx.xxx(unsafe)” to see the site.
Edge (before Chromium version)
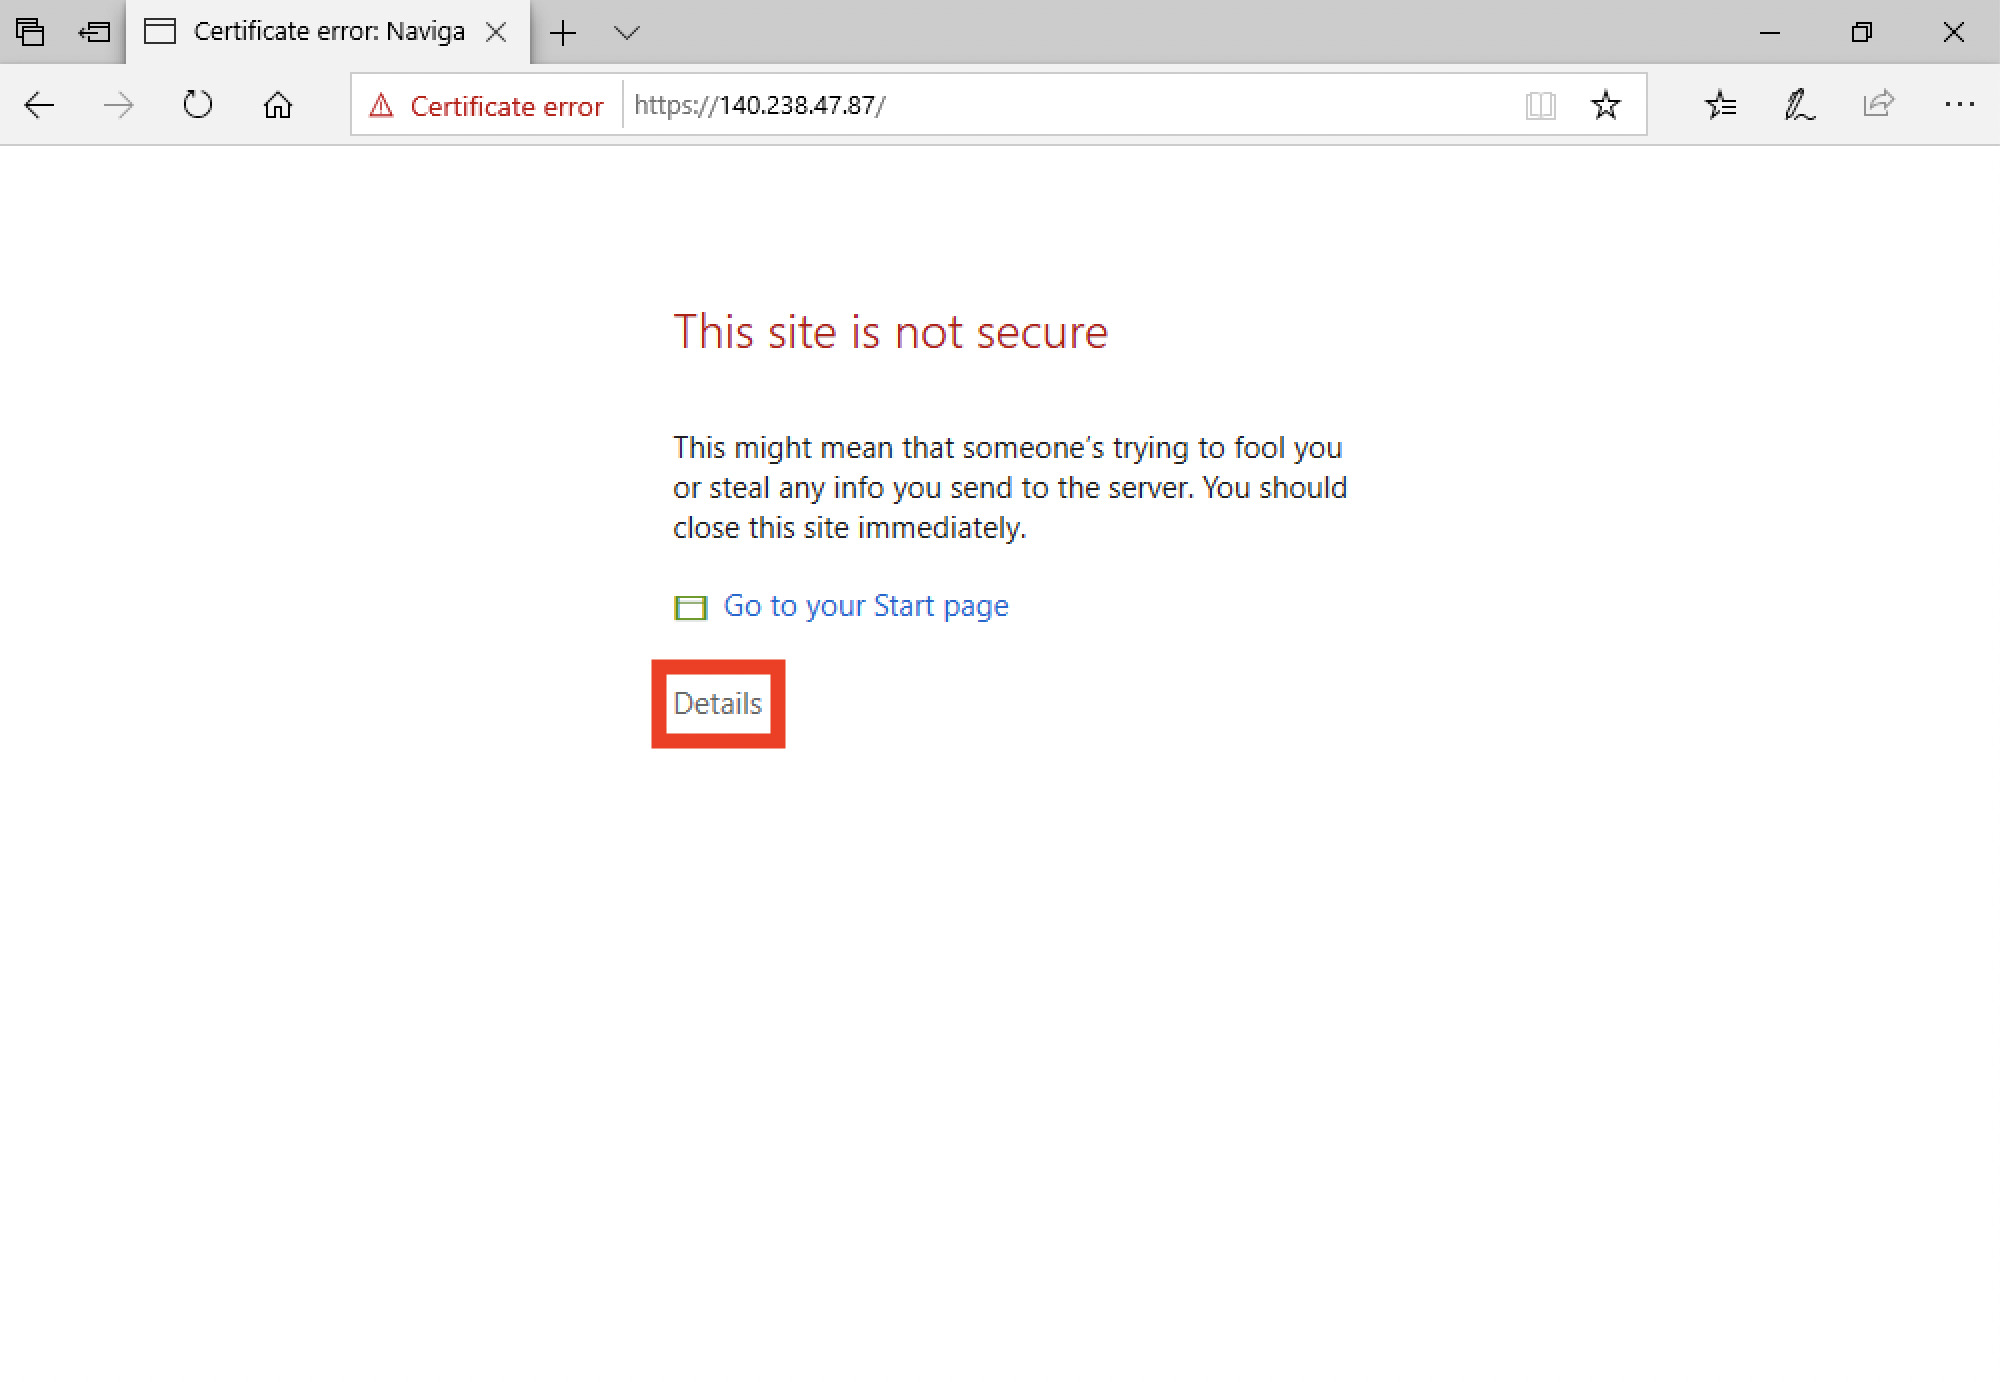
When you display the self-signed certificate site on Edge (before Chromium version), the screen below will be displayed. Click “Details”.
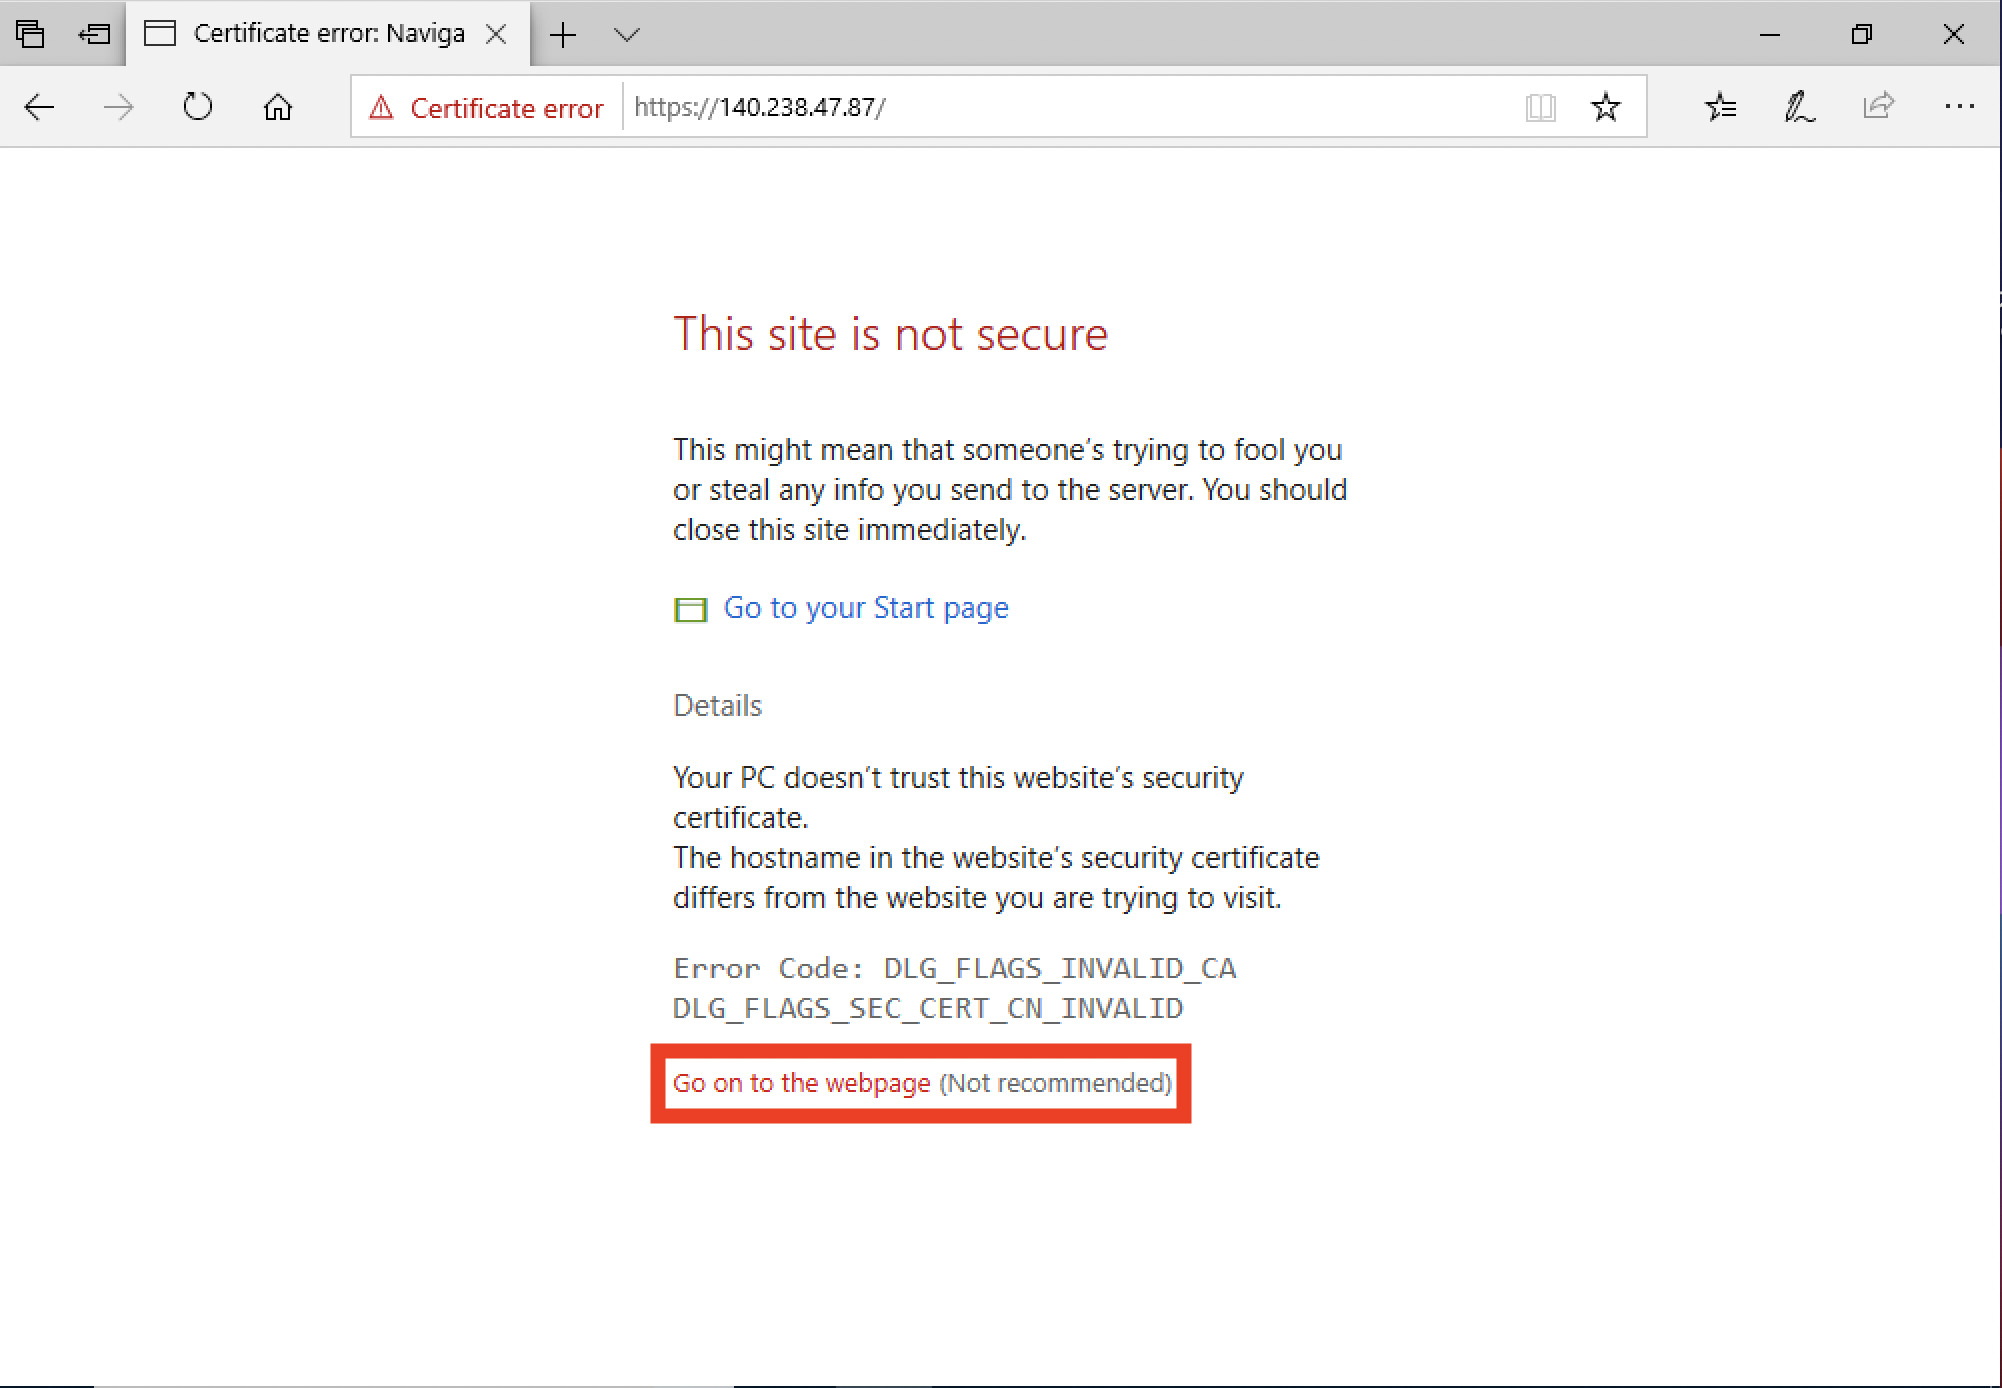
Click “Go to the webpage(not recommended)” to see the site.
Comment